
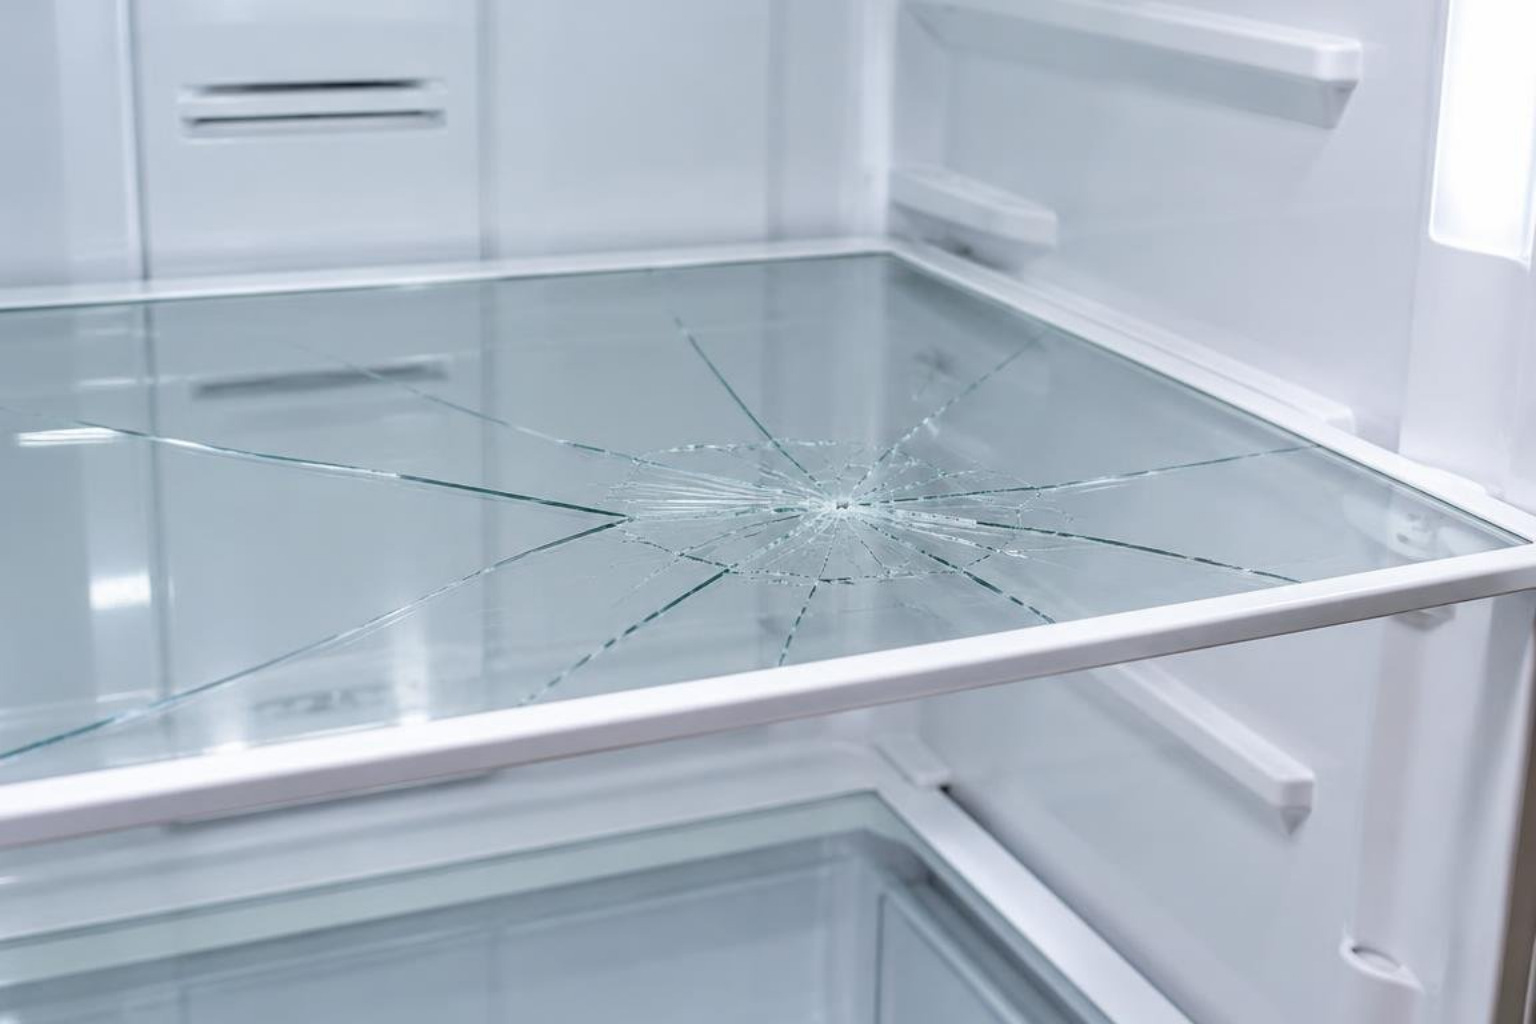
How to Replace a Broken GE Refrigerator Glass Shelf Safely
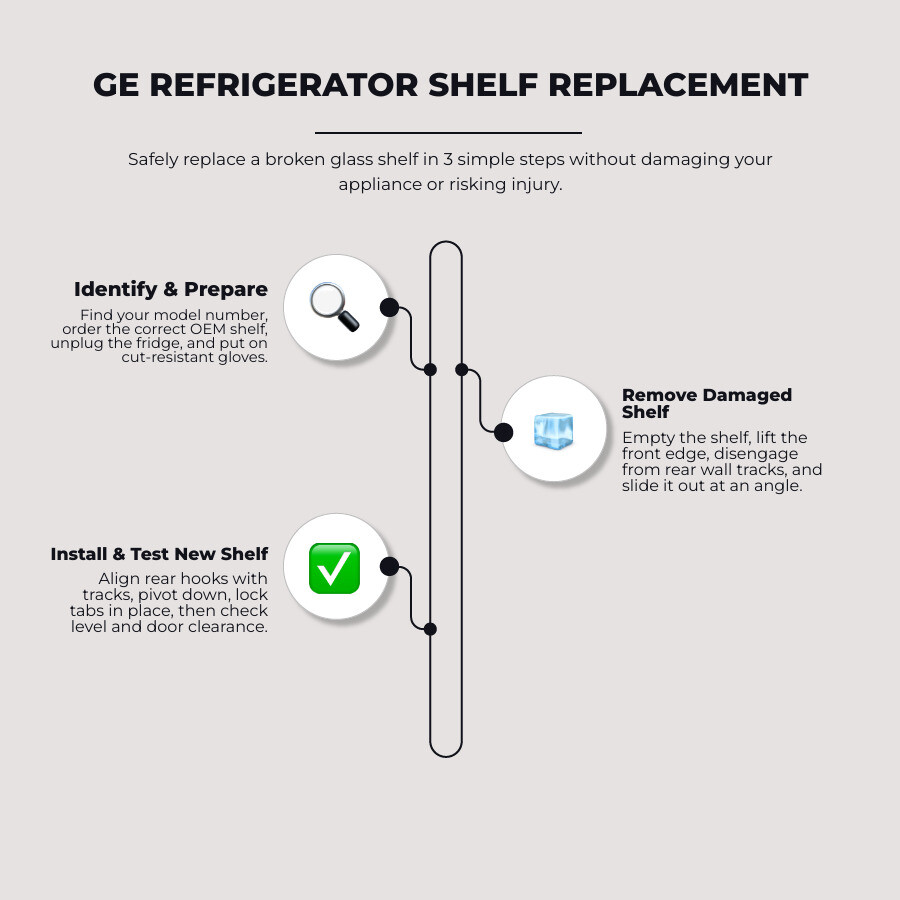
Before handling the damaged shelf, locate the refrigerator’s model number and match it to the correct replacement part. Move food to a cooler, disconnect power, and wear cut-resistant gloves to protect against loose glass. Remove the damaged shelf using the mounting method specified for that model, then secure the new assembly on its supports. Confirm that the shelf sits level and the door closes without interference before returning food. A GE refrigerator shelves replacement is safest when the selected part is made for the appliance’s exact model.
I’m Vasyl Turetsky, founder and appliance repair specialist at iFix Appliances, and I help Raleigh-area homeowners navigate GE refrigerator shelves replacement with confidence. My work diagnosing and repairing refrigerators helps me explain when a shelf swap is a reasonable DIY job and when damaged supports need a closer look.
Related refrigerator maintenance guides:
Understanding Shelf Types: Finding the Right GE Refrigerator Shelves Replacement
When dealing with a damaged refrigerator interior, you will quickly find that not every shelf functions the same way. GE manufactures several distinct shelving configurations across its standard, Profile, and specialty lines. Choosing the correct GE refrigerator shelves replacement requires understanding how your specific shelf mounts to the cabinet walls or rear ladder tracks.
Choosing original equipment manufacturer components ensures proper weight distribution, exact dimensional fit, and factory-grade safety. You can browse authentic components directly through GE Refrigerator Parts & Accessories to match your unit’s internal engineering.
| Shelf Type | Mounting Style | Typical Function | Common OEM Part Numbers | Average Price Range |
|---|---|---|---|---|
| Cantilever Glass Shelf | Rear metal ladder tracks with hooks | Adjustable height across multiple cabinet levels | WR71X24966, WR71X10613 | $120 – $135 |
| Fixed Fresh Food Shelf | Side-wall molded rails and support pegs | Stationary storage, often above crisper pans | WR71X24430, WR71X40766 | $50 – $60 |
| Tuckaway / Quick Space Shelf | Split-frame sliding or retractable track | Retracts front half to clear tall bottles below | WR71X30139, WR32X32030 | $150 – $160 |
| Crisper Glass Cover Insert | Direct drop-in resting on plastic crisper frame | Seals humidity drawers and provides shelf top | WR32X10480, WR32X10911 | $20 – $90 |
| Door Shelf Bin Module | Interlocking tabs on interior door liner | Holding condiments, gallons, and jars on door | WR71X38288, WR71X25893 | $35 – $75 |
Cantilever shelves utilize rear metal hooks that insert directly into vertical slots on the rear liner, allowing you to customize vertical clearance. Fixed shelves, such as the GE Shelf Fixed FF – WR71X24430, rest upon horizontal molded side tracks or dedicated wall pegs. Quick Space or Tuckaway designs feature a bi-fold or sliding front section that pushes back smoothly to make immediate room for upright beverage containers.
Identifying Shelf Failure: When to Replace vs. Repair Support Brackets
A compromised shelf does not always mean the tempered glass pane itself has shattered. In many service calls I handle across Wake County, the glass remains intact while the surrounding structural framework fails. Plastic end caps and side retainers become brittle over years of exposure to cold temperatures, leading to fine stress fractures along high-load contact points.
Before ordering a complete glass assembly, inspect your side support hardware. If a shelf sags to one side or slips out of place when loaded, the issue is often a snapped wall peg rather than the glass frame. Installing a replacement GE Refrigerator Wall Shelf Support – WR02X12187 is an inexpensive fix that restores rigid stability. If the molded plastic perimeter of the shelf itself is cracked, warped, or separated from the tempered glass, replace the entire assembly immediately to prevent sudden collapse under normal food storage weight.
How to Find Your Model Number and Measure for GE Refrigerator Shelves Replacement
Never order replacement shelving based strictly on visual similarity or exterior appliance dimensions. GE manufactures dozens of internal cabinet widths that look nearly identical in photos but differ by fractions of an inch.
To locate your exact model number:
- Open the fresh food compartment and look at the upper left or upper right interior cabinet wall for the manufacturer rating plate.
- If absent from the upper walls, check behind or beside the bottom crisper drawers along the side liner.
- For side-by-side or bottom-freezer configurations, check the interior ceiling or the left edge of the door frame.
- Record the full alphanumeric string (e.g., GSE25GGPBCBB or GIE17GSNBRSS), including serial and revision letters.
If your rating tag is worn or illegible, measure your existing shelf with a standard tape measure. Record the maximum width across the widest plastic edge, the front-to-back depth, and the thickness of the frame rails. Knowing these dimensions helps when finding quality appliance parts and cross-referencing OEM component catalogs accurately.
Essential Safety Precautions and Tools Before Shelf Removal
Working with broken or cracked refrigerator glass presents distinct safety hazards. Standard refrigerator shelves are constructed from tempered glass, designed to break into small pebbles rather than sharp shards. However, partial fractures can splinter unpredictably under tension or temperature changes.

Before starting, gather the appropriate gear:
- Heavy-duty, cut-resistant work gloves
- Wrap-around safety glasses
- A 1/4-inch nut driver or small socket set (for fixed support brackets)
- A flathead screwdriver with protective tape on the tip (for releasing plastic retainers)
- Heavy towels or moving blankets to line your staging area
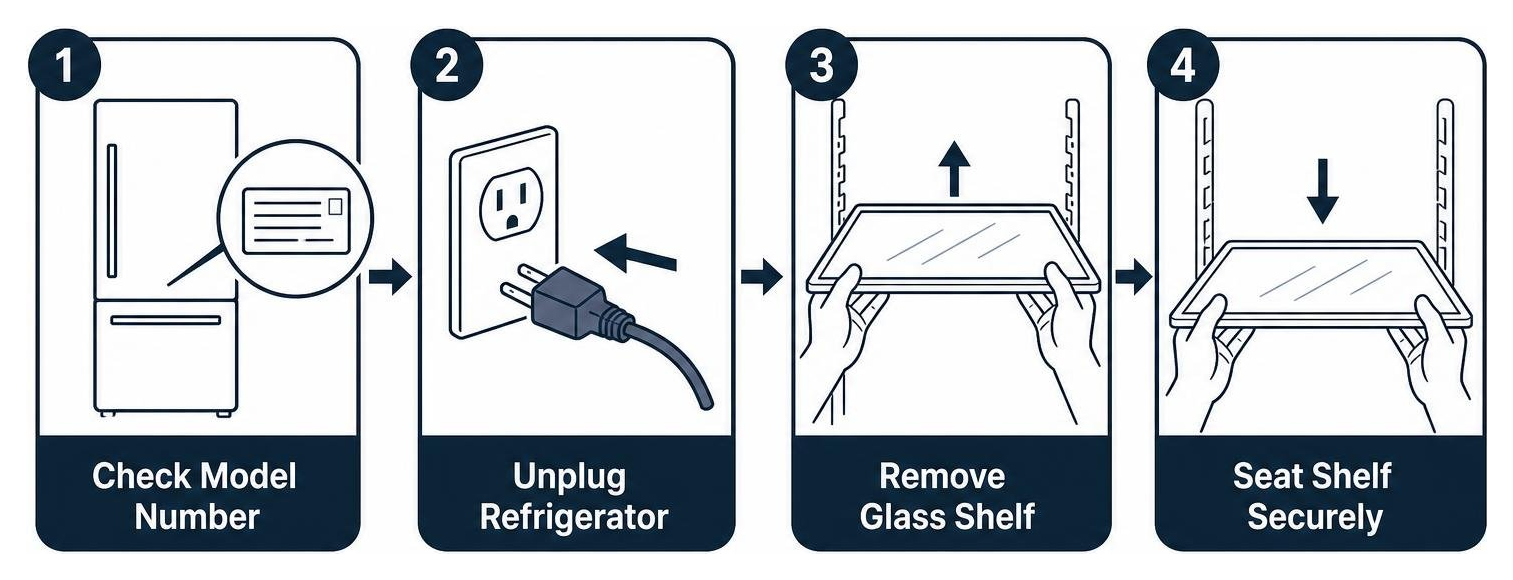
Always disconnect power to the appliance before performing internal repairs involving hardware removal. While a simple shelf swap does not expose live wiring, unplugging ensures the interior circulation fan and lighting remain deactivated while your hands are inside the cabinet. Reviewing the 5 warning signs your DIY appliance repair is headed for disaster will help you determine if an internal repair exceeds basic household safety limits.
Never wash cold tempered glass with boiling or hot tap water. Rapid thermal shifts cause thermal shock, causing uncracked panes to shatter instantly in your hands.
Step-by-Step Installation: Executing Your GE Refrigerator Shelves Replacement
Replacing an internal shelf is a straightforward maintenance task when approached methodically. Follow these three practical steps to remove the damaged component and seat your new replacement securely.
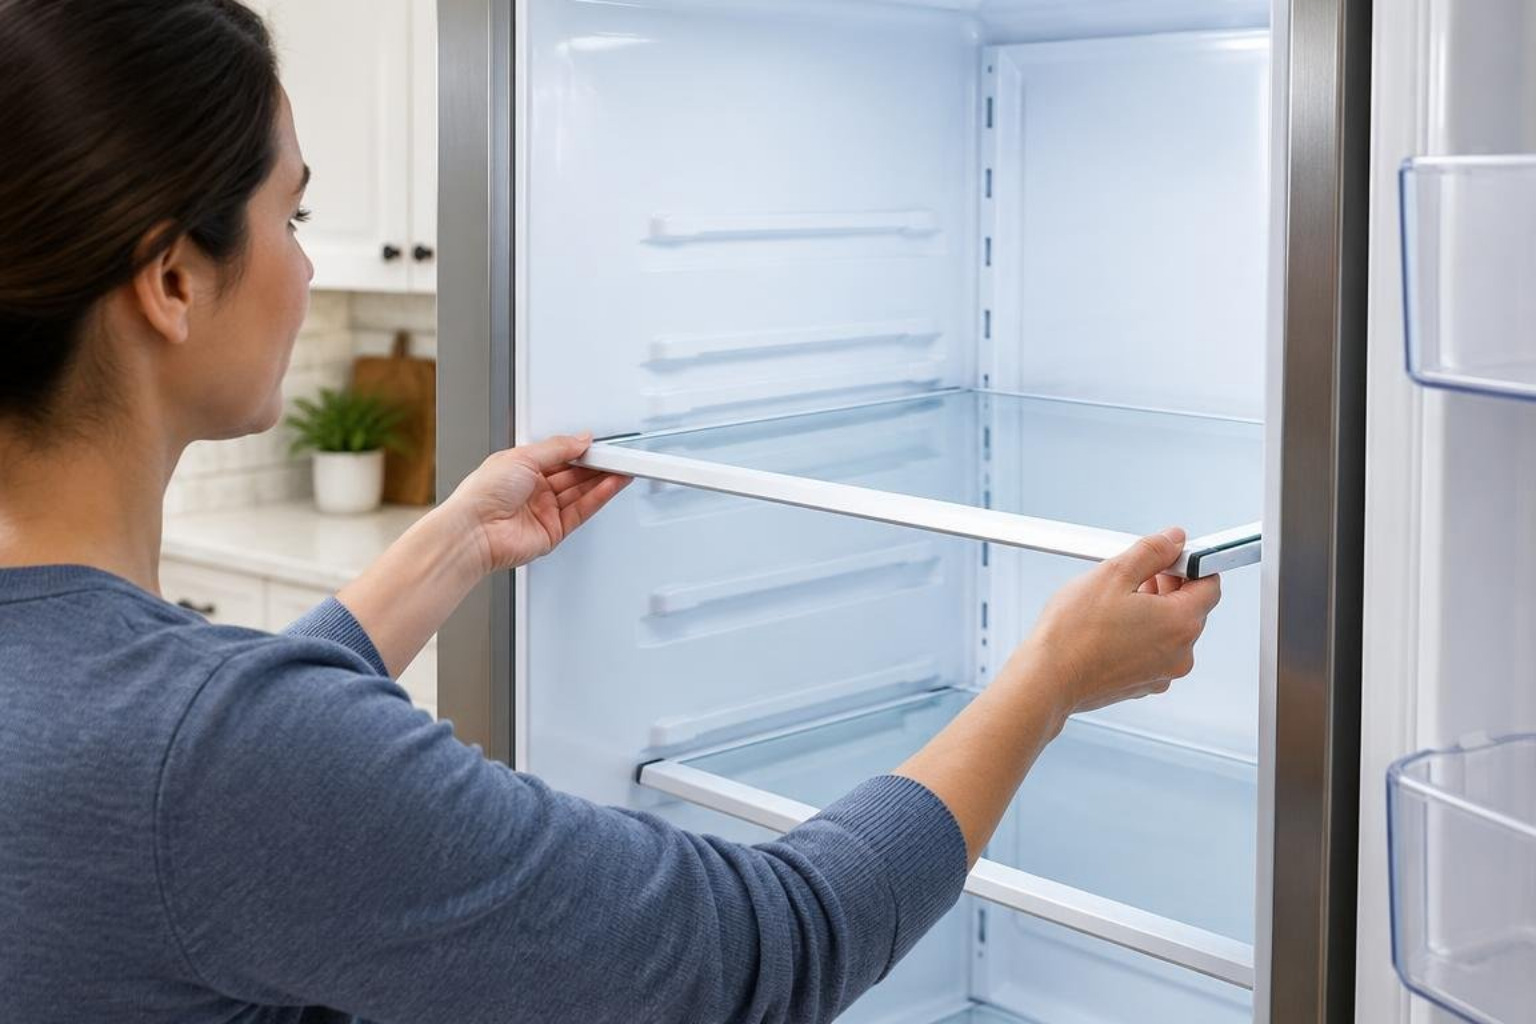
Step 1: Clearing Food and Removing Damaged Glass
Begin by clearing the entire working area inside the refrigerator.
- Transfer all perishable items from the damaged shelf and surrounding tiers into insulated coolers to maintain safe food storage temperatures.
- Remove any items stored directly beneath the damaged shelf to prevent falling debris if glass fractures further during extraction.
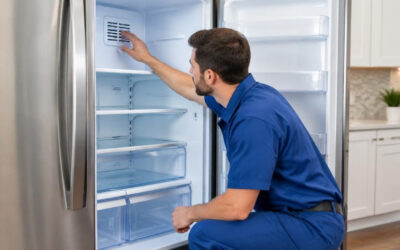
- For cantilever designs like the GE Refrigerator Shelf Cantilever Assembly – WR71X24966, grasp the front edge with both gloved hands.
- Lift the front edge upward roughly 15 to 20 degrees to disengage the lower locking tabs from the rear wall tracks.
- Pull the assembly toward yourself slightly, then lift the top rear hooks entirely out of the vertical mounting slots.
- Tilt the shelf at a slight diagonal angle to clear the door gaskets and withdraw it carefully from the cabinet interior.
Step 2: Inspecting and Securing Side Wall Tracks and Clips
With the old assembly removed, evaluate the internal mounting structure before sliding the replacement in place.
- Clean the cabinet walls and support tracks using mild dish soap and warm water on a soft microfiber cloth. Avoid abrasive scouring pads that scratch liner plastic.
- Check the rear vertical metal ladders or side mounting rails for warping, looseness, or stripped mounting screws.
- If your refrigerator utilizes fixed side brackets, inspect them for hairline cracks. If a support is loose, tighten the mounting screw or snap a new bracket firmly into the liner socket.
- Verify that side support brackets on opposite walls align at the exact same horizontal height so the new shelf sits flat.
Step 3: Seating and Locking the New Glass Shelf
Now you are ready to install the replacement shelf, such as the GE Fresh Food Glass Shelf – WR71X40766.
- Unbox the replacement shelf and confirm all protective shipping film, cardboard corner blocks, and tape are removed.
- Hold the new shelf at a slight upward angle, keeping the rear brackets higher than the front trim.
- Guide the assembly into the cabinet, aligning the rear top hooks with your chosen slot height in the vertical tracks.
- Insert the rear hooks firmly into the track slots, then pivot the front edge downward until the lower retention tabs click securely into the locking slots.
- For fixed side-rail shelves, slide the rear edge straight back along the molded tracks until the back stops seat against the rear wall liner.
- Apply gentle downward pressure with both hands along the center of the shelf to confirm it is fully seated.
- Close the refrigerator door gently to ensure the front shelf trim clears the door bins without obstruction before restoring power and reloading your food.
DIY vs. Professional Service: When Refrigerator Damage Goes Beyond Shelves
While swapping a standard glass shelf is an accessible project for most homeowners, certain interior cabinet failures require professional intervention. If your shelf collapsed due to warped inner liner walls, cracked mounting tracks embedded in the cabinet shell, or damaged electrical wiring behind crisper lighting channels, simple part replacement will not solve the underlying issue.
Structural liner damage often allows warm air infiltration, leading to frost buildup, uneven temperatures, and compressor strain. When you encounter complex structural issues or secondary cooling failures, scheduling a dedicated GE repair service ensures your unit is safely inspected. If you own high-end configurations, specialized GE Profile refrigerator service or certified GE Monogram repair service is recommended to safeguard sensitive electronic controls and integrated trim assemblies.
Frequently Asked Questions About GE Refrigerator Shelves
Are GE refrigerator shelves interchangeable across Hotpoint, Haier, and Café models?
Yes, in many instances. GE Appliances operates as a parent entity that produces appliances under the GE, Profile, Café, Monogram, Haier, and Hotpoint brand names. Many of these product lines share underlying chassis designs, interior liner molds, and mounting tracks.
However, you should never assume cross-brand compatibility based on appearance alone. Premium brands like Café often feature distinct edge trim finishes (such as brushed copper or stainless accents), while Hotpoint may use basic white molded plastic for the same internal dimensions. Always verify your specific model number against official parts diagrams before ordering across brand families.
Can I replace just the glass insert instead of the entire shelf frame assembly?
It depends entirely on the design of your specific shelf assembly:
- Modular Snap-Fit Assemblies: Many older GE models and crisper drawer covers, such as the GE Refrigerator Glass Shelf – WR32X10480, feature removable glass panes secured by flexible plastic retaining tabs. In these units, you can purchase and replace just the OEM glass pane (such as part WR32X10911), which is more cost-effective.
- Factory-Sealed Assemblies: Modern cantilever and spill-proof shelves bond the tempered glass directly into the plastic or metal frame using industrial sealant during manufacturing. On these models, attempting to separate the glass will crack the surrounding frame. You must replace the complete shelf assembly (such as GE Refrigerator Shelf Assembly – WR71X10613) as a single unit.
How do I prevent newly installed refrigerator glass shelves from cracking?
To maximize the lifespan of your replacement glass shelves:
- Avoid Thermal Shock: Never place hot pots, warm ceramic baking dishes, or freshly boiled containers directly onto cold glass. Let cookware drop to room temperature first.
- Distribute Heavy Items Evenly: Place heavy liquid jugs (like milk gallons and beverage pitchers) near the outer edges of the shelf close to the side supports rather than directly in the center span.
- Maintain Clear Airflow: Do not cram items tightly against the rear cabinet wall. Blocking the air diffuser creates cold spots that increase stress on shelf glass.
- Use Mild Cleaners: Clean exclusively with warm water, mild soap, or specialized glass cleaners. Harsh chemicals can weaken plastic retaining clips over time.
Conclusion
Replacing a damaged or broken GE refrigerator shelf restores both usable storage and safe daily operation in your kitchen. By identifying your exact appliance model number, matching genuine OEM components, and taking necessary safety precautions during removal, you can easily handle standard shelf replacements at home.
If your refrigerator exhibits cracked cabinet liners, broken support tracks, or persistent temperature issues alongside shelving damage, reach out to the certified team at iFix Appliances for professional refrigerator repair across Raleigh, Durham, Cary, and surrounding communities.
0 Comments