
Common Causes of a Freezer Door Not Sealing Properly
If your freezer door is not sealing properly, you can usually resolve the issue by cleaning sticky residue off the gasket, warming warped vinyl with a hair dryer to restore its shape, adjusting door alignment and tilt, or replacing a damaged gasket ($50 to $150 DIY, or $150 to $350 professionally).
A freezer relies on an airtight barrier to keep freezing temperatures locked inside and humid air out. When ambient air slips inside, cooling demands skyrocket, and your refrigerator energy consumption can increase by 20% or more.
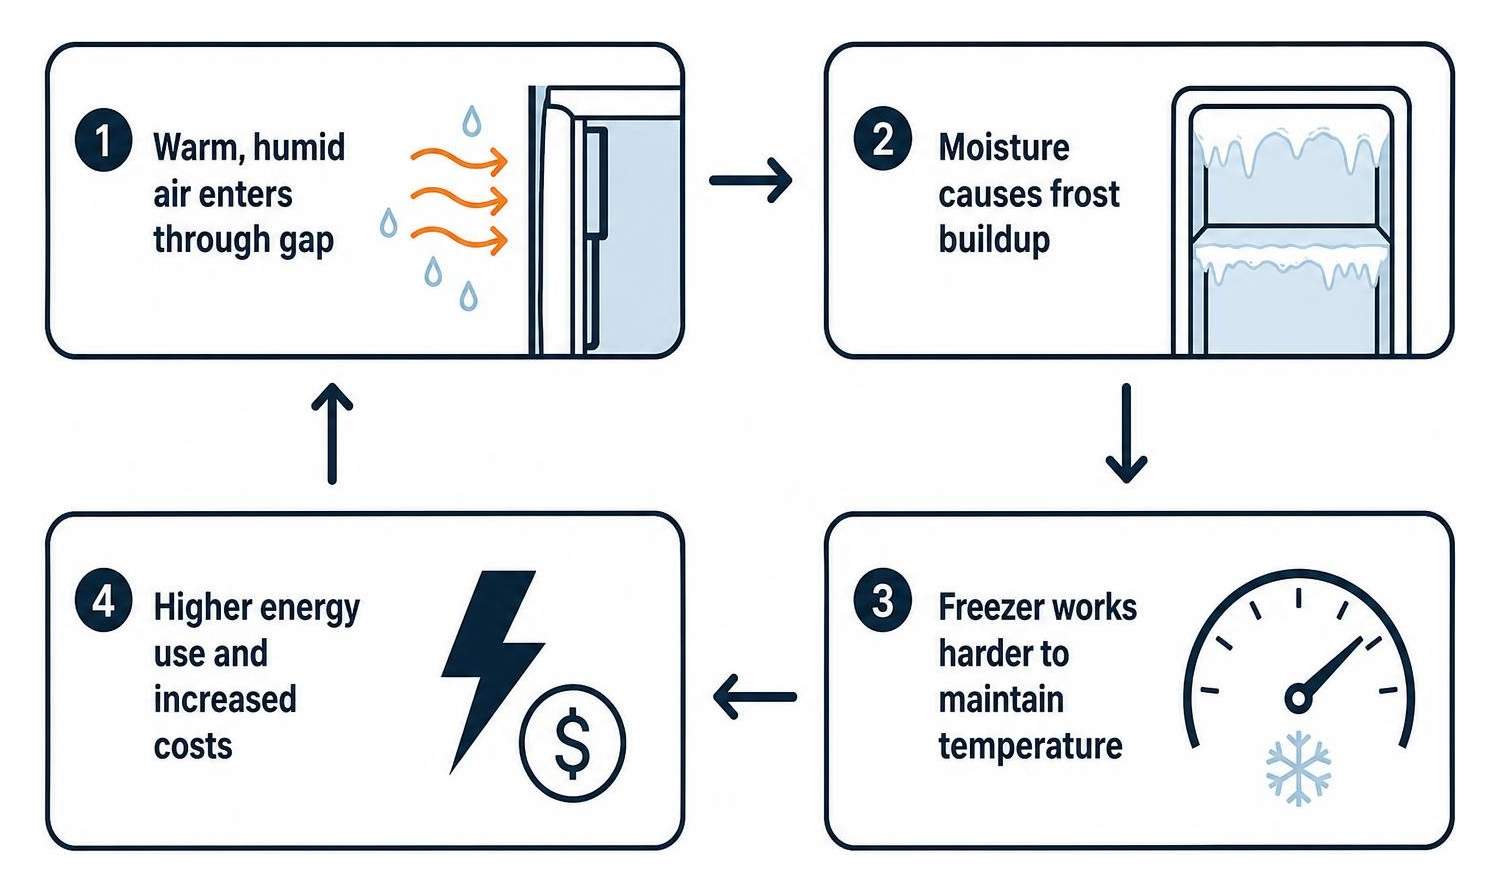
The flexible rubber or vinyl gasket running along the perimeter of the door houses magnetic strips designed to pull tight against the metal cabinet. Over time, physical stress, grease, and temperature fluctuations degrade this material. The environment plays a massive role as well. In humid climates, moisture forces the cooling system into frequent defrost cycles, illustrating why appliances break faster in North Carolina’s climate.
Warning Signs Your Seal Has Failed
A compromised seal reveals itself long before food starts thawing. Watch for these red flags:
- Frost and Snow Ridges: Light, powdery frost near the door perimeter or heavy ice crystals on frozen packages within 24 to 48 hours of cleaning indicate that moist air is entering and condensing.
- Persistent Condensation: Sweat or water droplets gathering along the outer gasket or metal faceplate point to warm air meeting cold metal.
- Continuous Compressor Operation: If the motor runs constantly or cycles on every few minutes, the unit is struggling to maintain 0°F due to constant thermal loss.
- Temperature Swings: Food in the door bins feels soft or warm, while deep-set items remain frozen solid.
Dirty or Sticky Gaskets vs Mechanical Blockages
Before assuming the rubber seal is ruined, look at mechanical and cleanliness factors. Sticky residues from sugary syrups, sauces, or grease act like glue, pulling the gasket out of its mounting track whenever the door opens. Over time, that sticky surface prevents the magnetic strip from sitting flat against the metal frame.
Internal mechanical blockages are equally common:
- Overpacked Bins: Bulky frozen items, ice cream tubs, or grocery bags pushed against the back wall can nudge the door outward by a few millimeters.
- Misaligned Baskets: In pull-out bottom drawer freezers, misaligned slide rails or warped plastic bins block the final latching motion.
- Ice Dams: A clogged defrost drain produces an ice sheet along the freezer floor that stops the bottom edge of the door from closing flush.
Step-by-Step Diagnostic Guide to Test Freezer Seal Suction
Finding the exact spot where cold air escapes lets you apply targeted fixes instead of guessing.
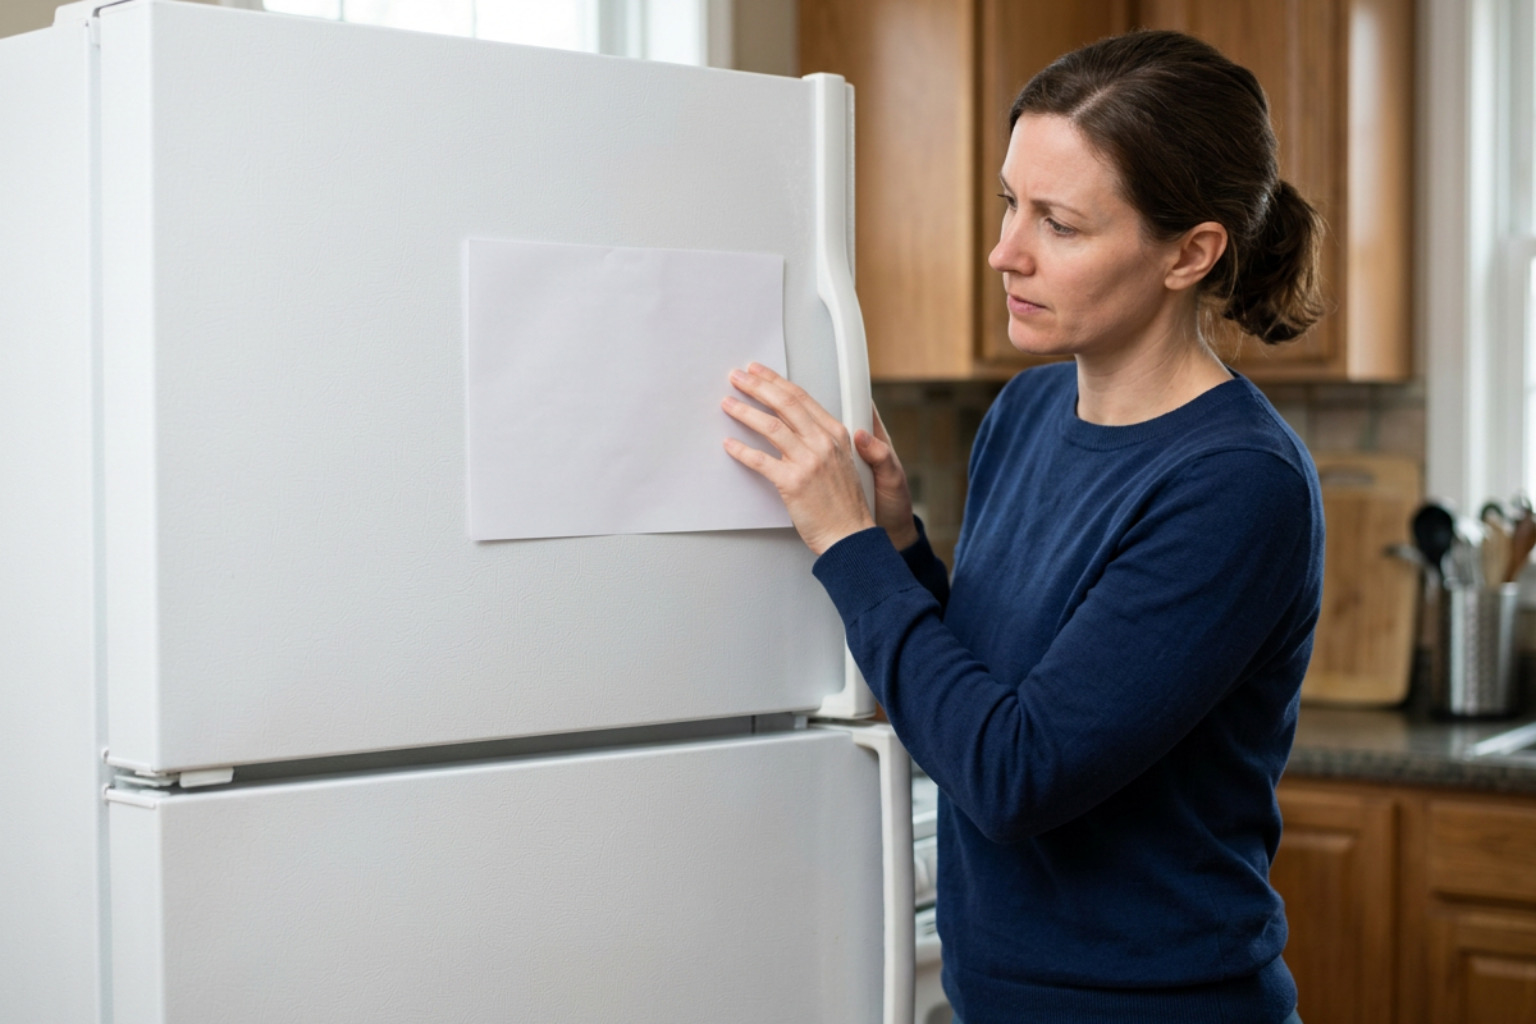
Performing the Paper Test for a Freezer Door Not Sealing
The classic paper test remains the gold standard for testing gasket grip. Standard printer paper or a dollar bill works well.
- Open the freezer door and place a piece of paper across the gasket edge.
- Close the door so the paper is clamped between the rubber seal and the cabinet frame.
- Slowly pull the paper outward.
- Evaluate resistance: If you feel firm tension and the paper holds tight, the seal is working in that spot. If the sheet slides out freely with no drag, the magnetic seal is broken.
- Repeat this test every 4 to 6 inches around the entire perimeter, paying special attention to the corners and the hinge side.
Manufacturers emphasize this check as the first troubleshooting step, as detailed in the official Whirlpool upright freezer door troubleshooting guide.
Light Leak and Cold Draft Inspection
For a secondary diagnostic check, use darkness to your advantage:
- The Flashlight Test: Place a bright, powered flashlight inside the freezer facing outward toward the door seams. Turn off the kitchen lights and close the freezer. Walk along the perimeter. Any visible sliver of light points to a gap or warped section.
- Cold-Draft Feel Test: Slowly run your bare hand or a sensitive thermal sensor around the closed door seam while the compressor is running. A distinct drop in temperature indicates localized air leakage.
How to Fix and Reshape a Freezer Door Seal
Minor gaps, stiff rubber, and frame misalignment can often be resolved with basic maintenance.
Deep Cleaning and Restoring Gasket Pliability
Dirt, mold spores, and dried food residues harden the rubber bellows. Cleaning the assembly every few months keeps it pliable:
- Mix warm water with a few drops of mild dish soap (or a 50/50 mix of warm water and white vinegar).
- Dip a soft-bristled toothbrush or microfiber cloth into the solution and clean inside every fold of the rubber gasket.
- Wipe down the metal face of the freezer cabinet to remove grease and sticky deposits.
- Dry the entire perimeter thoroughly with a clean towel. Trapped moisture can freeze into small ice crystals that push the gasket away from the frame.
Using a Hair Dryer and Petroleum Jelly for Warped Rubber
If the gasket has developed ripples, flat spots, or curled corners, gentle heat can restore its shape:
- Set a standard hair dryer to low heat.
- Hold the nozzle 4 to 6 inches away from the warped rubber section.
- Move the dryer back and forth continuously for 30 to 60 seconds. Never hold the heat in one spot, as excessive heat can melt vinyl gaskets.
- While the rubber is warm and pliable, use your fingers to gently pull and stretch the material outward so it meets the cabinet frame.
- Close the door and let the rubber cool against the metal faceplate to set its shape.
- Apply a very thin layer of petroleum jelly (Vaseline) along the hinge side of the gasket. This reduces friction, stops the seal from binding or rolling over when closed, and provides a light temporary suction boost.
How to Fix a Freezer Door Not Sealing Due to Misalignment or Ice
When ice buildup or a misaligned door frame prevents closure, address the underlying alignment:
- Remove Ice Ridges: If thick frost coats the frame, do a manual defrost. Never chip at ice with knives or metal screwdrivers, which can puncture refrigerant lines or gouge the plastic liner. Use warm water or a plastic scraper.
- Level the Appliance: Refrigerators and standalone freezers should tilt slightly backward. Adjust the front leveling legs with a wrench so the front sits approximately 1/4 inch higher than the rear. This slight tilt allows gravity to pull the door shut.
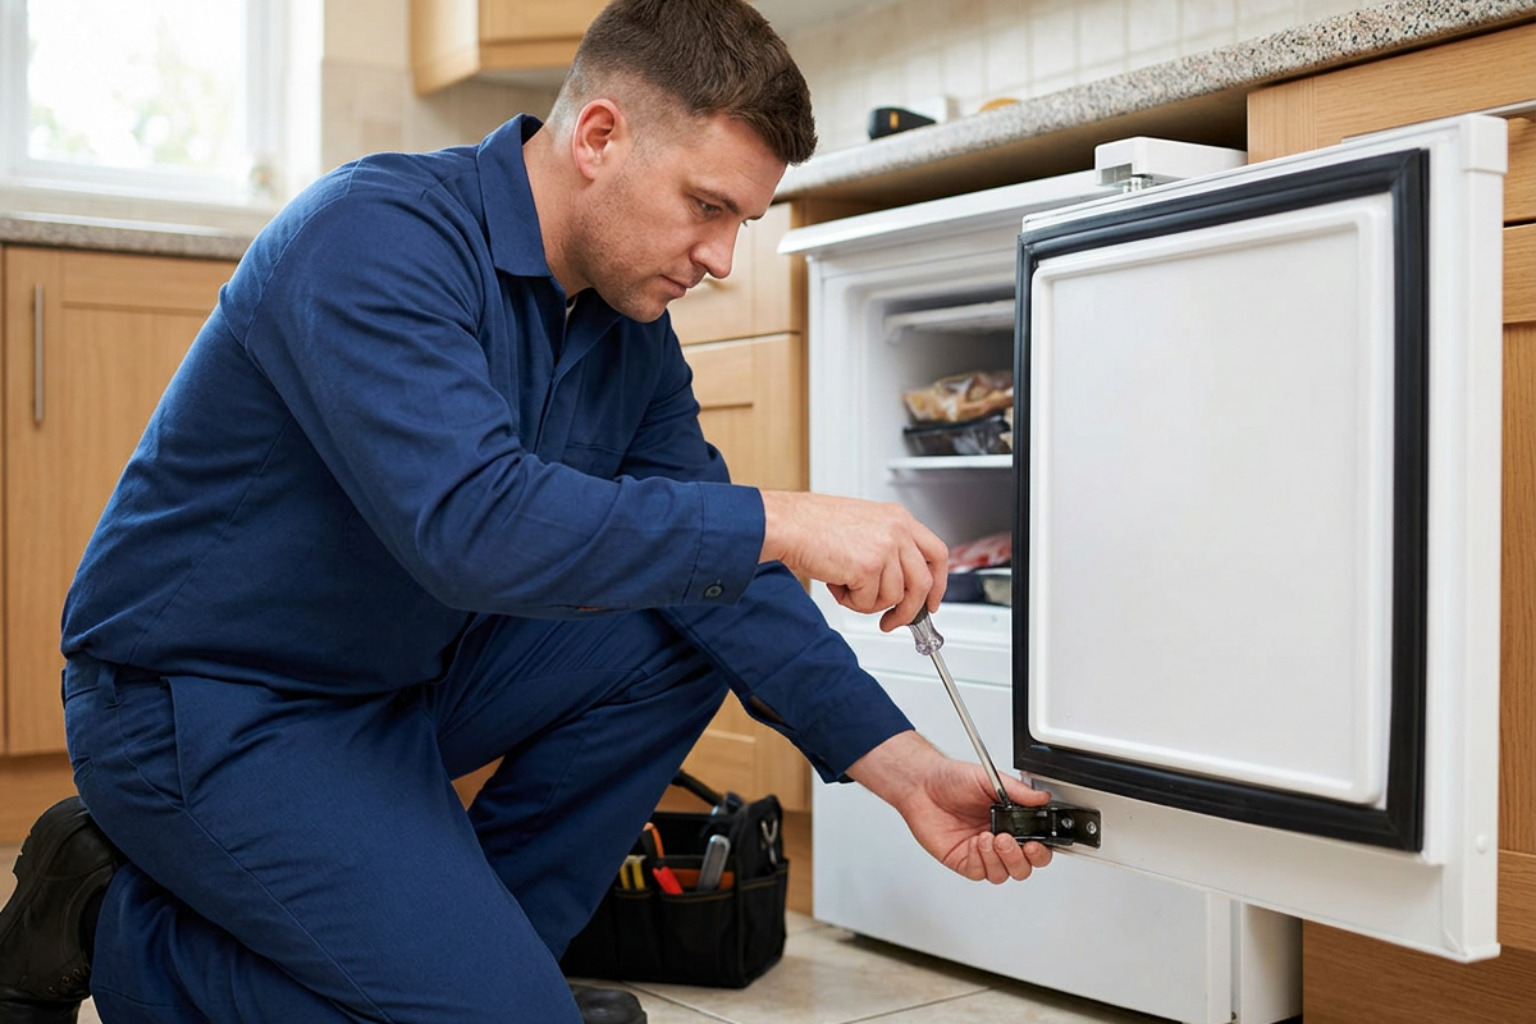
- Tighten Hinge Hardware: Loose hinge screws let heavy, food-laden doors sag, creating gaps at the top corners. Loosen the hinge screws, square the door to the cabinet, and tighten the hardware firmly to lock the alignment in place.
Freezer Gasket Replacement Cost, DIY Steps, and When to Call a Pro
The average lifespan of a freezer door gasket is 5 to 7 years. When the rubber becomes brittle, splits at the corners, or loses its internal magnetic charge, replacement is the only lasting fix.
Fixing a faulty freezer door seal can yield up to 20% energy savings on utility bills, making gasket replacement an economical repair.
| Repair Method | Average Part Cost | Labor / Service Cost | Total Expected Cost | Best Suited For |
|---|---|---|---|---|
| DIY Replacement | $50 – $150 (OEM Gasket) | $0 (Homeowner labor) | $50 – $150 | Standard snap-in/push-in gaskets, handy homeowners |
| Professional Repair | $60 – $180 (OEM Part) | $90 – $170 (Diagnostic & Labor) | $150 – $350 | Screw-retained gaskets, warped doors, recurring cooling faults |
Attempting complex adjustments without the right tools carries risks; review these 5 warning signs your DIY appliance repair is headed for disaster before you begin. If your freezer continues to warm up after a new seal is installed, you may be dealing with a wider refrigerator not cooling issue involving evaporator fans or defrost controls.
Step-by-Step DIY Gasket Installation
If you decide to replace the seal yourself:
- Source the Exact OEM Part: Locate the model and serial number sticker inside the cabinet wall or door jamb. Order the exact manufacturer-specified gasket. Generic “universal” seals rarely fit correctly.
- Prep the New Gasket: New gaskets ship folded inside boxes. Soak the new seal in a tub of warm water for 15 to 20 minutes, or lay it flat on a warm floor to smooth out shipping creases.
- Remove the Old Seal:
- For push-in / dart-style gaskets: Grab a corner and gently pull the retaining dart out of the door channel.
- For screw-retained gaskets: Lift the inner edge of the rubber flap, loosen the perimeter screws halfway (do not remove them entirely), and slide the old seal out.
- Install the New Seal: Start at the four corners. Push the dart firmly into the channel track until seated, then work your way along the straight runs toward the center of each side.
- Secure and Check: If your unit uses retaining screws, tighten them evenly around the door. Re-run the paper test to confirm a tight, gap-free seal.
When Cabinet Warping or Hinge Damage Requires Professional Help
Certain structural failures cannot be resolved with a simple gasket swap:
- Warped Cabinet Liners: If the main appliance frame has twisted due to rough moves or structural fatigue, a new gasket will still leave visible gaps.
- Worn Door Cams and Hinges: Plastic closing cams inside bottom hinges eventually crack and wear down, causing the door to drop and pop open instead of pulling shut.
- Cracked Door Shelving & Liners: Severe interior liner cracks allow cold air into the cabinet insulation, causing internal condensation that warps the door from the inside out.
Frequently Asked Questions About Freezer Door Seals
Why does my freezer door keep popping open after closing?
When you firmly close a freezer door, incoming air cools instantly, creating a brief vacuum that pulls the door shut. However, if you slam the door, the displaced air pushes outward against the seal, causing it to bounce or pop open.
This also happens in combination refrigerator-freezers when shutting the fresh-food door sends an air surge through the connecting air duct, popping the freezer open. If the unit is not tilted slightly backward, or if the door closing cam is broken, the door will remain ajar.
How long does a refrigerator or freezer door gasket last?
Under normal household conditions, a freezer gasket lasts between 5 and 7 years. Regular exposure to skin oils, food spills, harsh chemical cleaners, or high humidity can degrade the flexible vinyl sooner. Cleaning the rubber with mild dish soap every 3 to 6 months helps extend its working life.
Can a faulty freezer seal ruin my compressor?
Yes. A torn or leaking gasket forces the compressor to run continuously to offset the incoming warm air. This continuous duty cycle overheats the compressor motor, accelerates component wear, and can lead to premature compressor failure—one of the most expensive repairs on any refrigeration appliance.
Conclusion
A faulty freezer seal leads to spoiled food, stubborn frost buildup, and inflated electric bills. Fortunately, many sealing issues stem from minor blockages, sticky gaskets, or slight cabinet misalignments that can be diagnosed and fixed with straightforward troubleshooting.
When DIY fixes, heat reshaping, and thorough cleaning fail to resolve the leak, professional service ensures your appliance is properly leveled, square, and sealed. If you live in Raleigh, Durham, Cary, Apex, Garner, Wake Forest, or need professional freezer repair in Morrisville, our team at iFix Appliances is here to help with honest diagnostics and long-term repair solutions.

0 Comments