
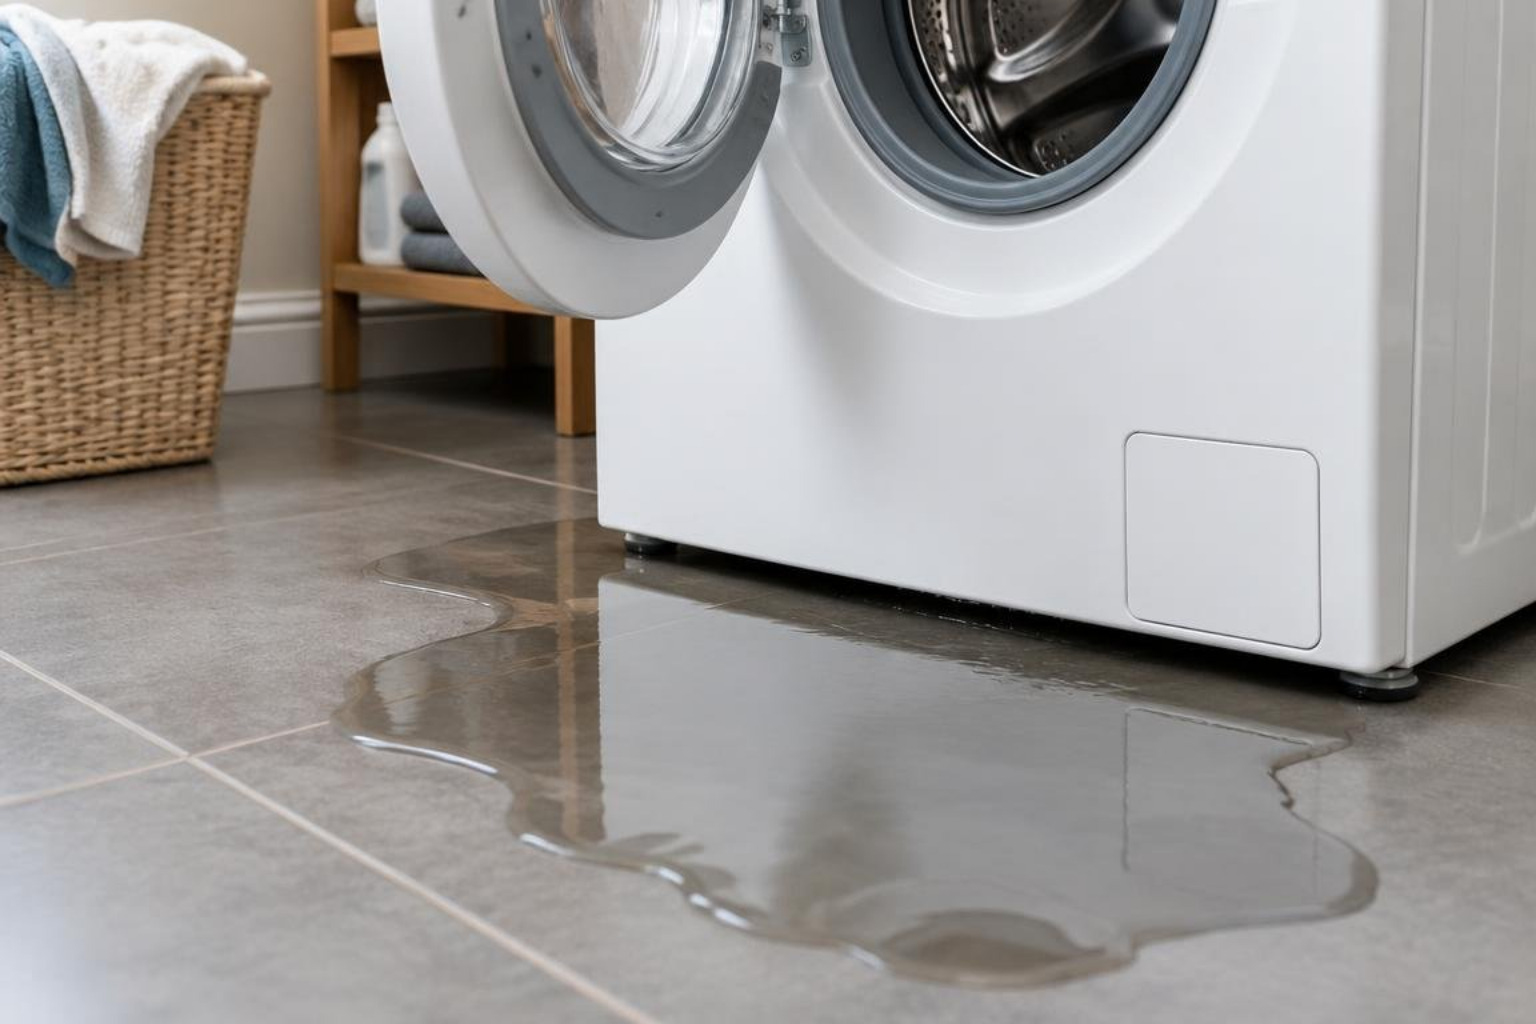
How to Fix a Leaking Washer
For washer leaking repair, I start with three steps:
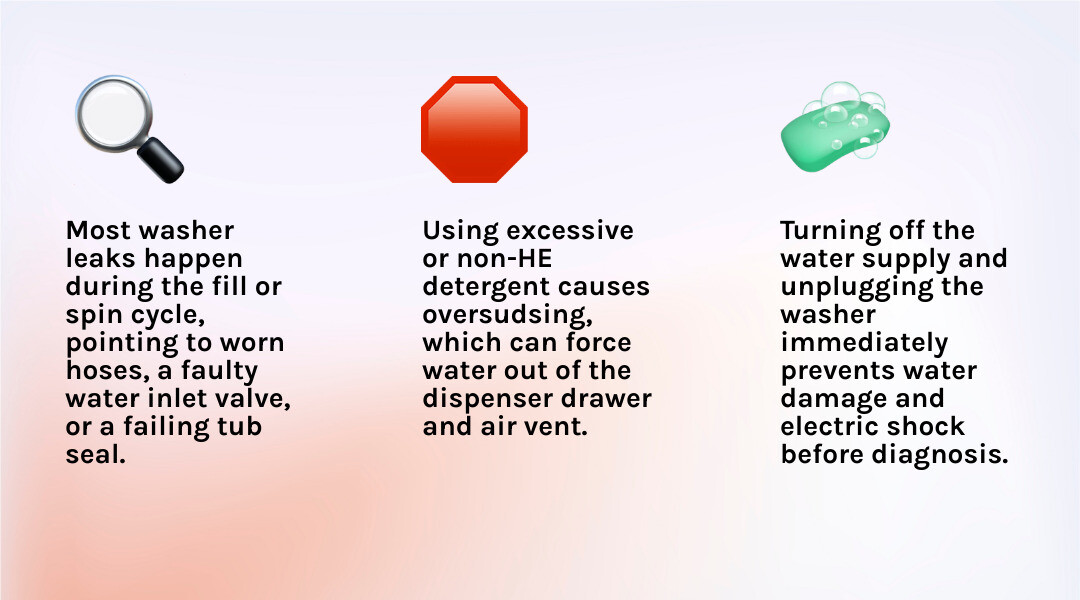
- Stop the leak: Turn off the washer, unplug it if the area is dry, and close the water supply valves.
- Find the source: Check where the water appears and whether it leaks during filling, spinning, draining, or while the washer is off.
- Fix the simple causes: Check hose connections, clean the pump filter and door seal, and use the right amount of HE detergent. If water still leaks, leave internal repairs to a technician.
I’m Vasyl Turetsky, founder and appliance repair specialist at iFix Appliances. My washer leaking repair work helps homeowners in Raleigh and nearby communities find the cause and choose a lasting fix. When a simple maintenance step is not enough, I also guide homeowners through the process of arranging a professional repair for a leaking washer so the problem does not return.
Step 1: Isolate the Leak by Location and Cycle Phase
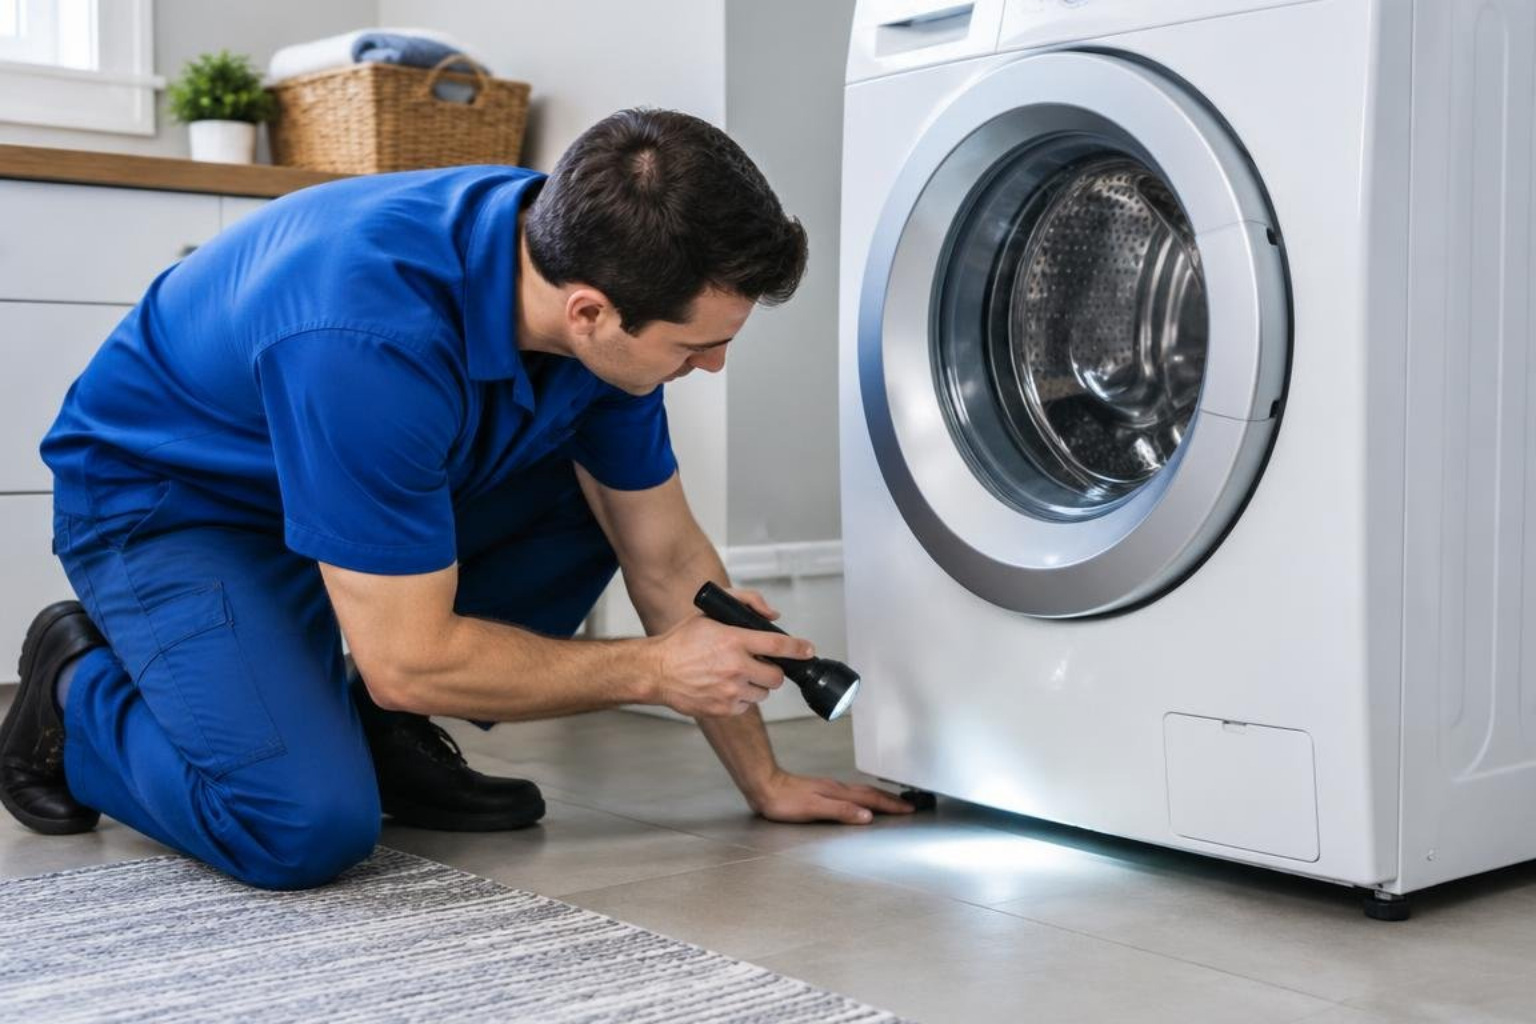
Finding where and when water escapes is half the battle. A puddle on the floor does not tell you much on its own, but paying attention to the specific wash cycle phase—filling, agitating, spinning, or draining—instantly narrows down the failing component.
| Cycle Phase | Leak Location | Most Likely Cause |
|---|---|---|
| Fill / Agitation | Bottom center or rear | Damaged tub seal, split fill hose, or faulty water level switch |
| Spin Cycle | Front edge or bottom corners | Severely unlevel unit, damaged tub cover gasket, or worn pump seal |
| Drain Cycle | Rear standpipe or bottom base | Loose drain hose clamp, cracked pump housing, or clogged standpipe |
| Idle (Washer Off) | Inside the drum or rear panel | Cracked water inlet valve solenoid failing to shut off water |
| Any Active Cycle | Front door or dispenser drawer | Debris in door boot seal, clogged detergent tray, or excess suds |
Washer Leaking from the Bottom During Fill, Spin, or Drain
When water pools underneath the appliance, cycle timing tells me what to inspect first. If water leaks out immediately as the machine begins filling, I inspect the internal tub seal, the water level pressure switch, and the internal hoses connected to the outer tub. If you are dealing with a front-loader, inspecting common front-load trouble spots like internal bellows and lower tub hose connections will help you pinpoint the issue fast.
If the leak happens strictly during the spin cycle, the culprit is often severe vibration shaking water past a worn tub cover gasket, or a failing seal inside the water pump assembly. Excessive shaking can also be tied to troubleshooting washer spinning and drainage issues, where unbalanced loads force water over the top lip of the outer wash tub.
Finally, a leak occurring only during the drain phase points directly to the drain pump housing, a loose hose clamp, or a cracked internal drain line.
Water Dripping Into the Drum When the Machine Is Off
If you open your washing machine after it has been sitting idle for hours—or even overnight—and discover standing water inside the drum, the machine is not generating this water on its own. This symptom is caused by a failing water inlet valve assembly at the back of the cabinet.
The inlet valve contains internal solenoids and rubber diaphragms that hold back pressurized household water. When the plastic housing cracks or the internal solenoid fails to seat shut, water continuously seeps through the valve ports and drips down into the wash drum. Because these valves remain under constant domestic water pressure even when the appliance is powered off, a failing valve must be replaced promptly to prevent accidental laundry room flooding.
Front-Load Door Boot Gasket and Top-Load Lid Leaks
Front-load washers rely on a flexible rubber door boot gasket (bellow) to create a watertight barrier between the spinning drum and the front panel. Over time, stray pet hair, lint, threads, and caked soap scum collect in the lower folds and block the tiny molded drainage holes. Even a single strand of hair or stray coin can break the seal against the glass door.
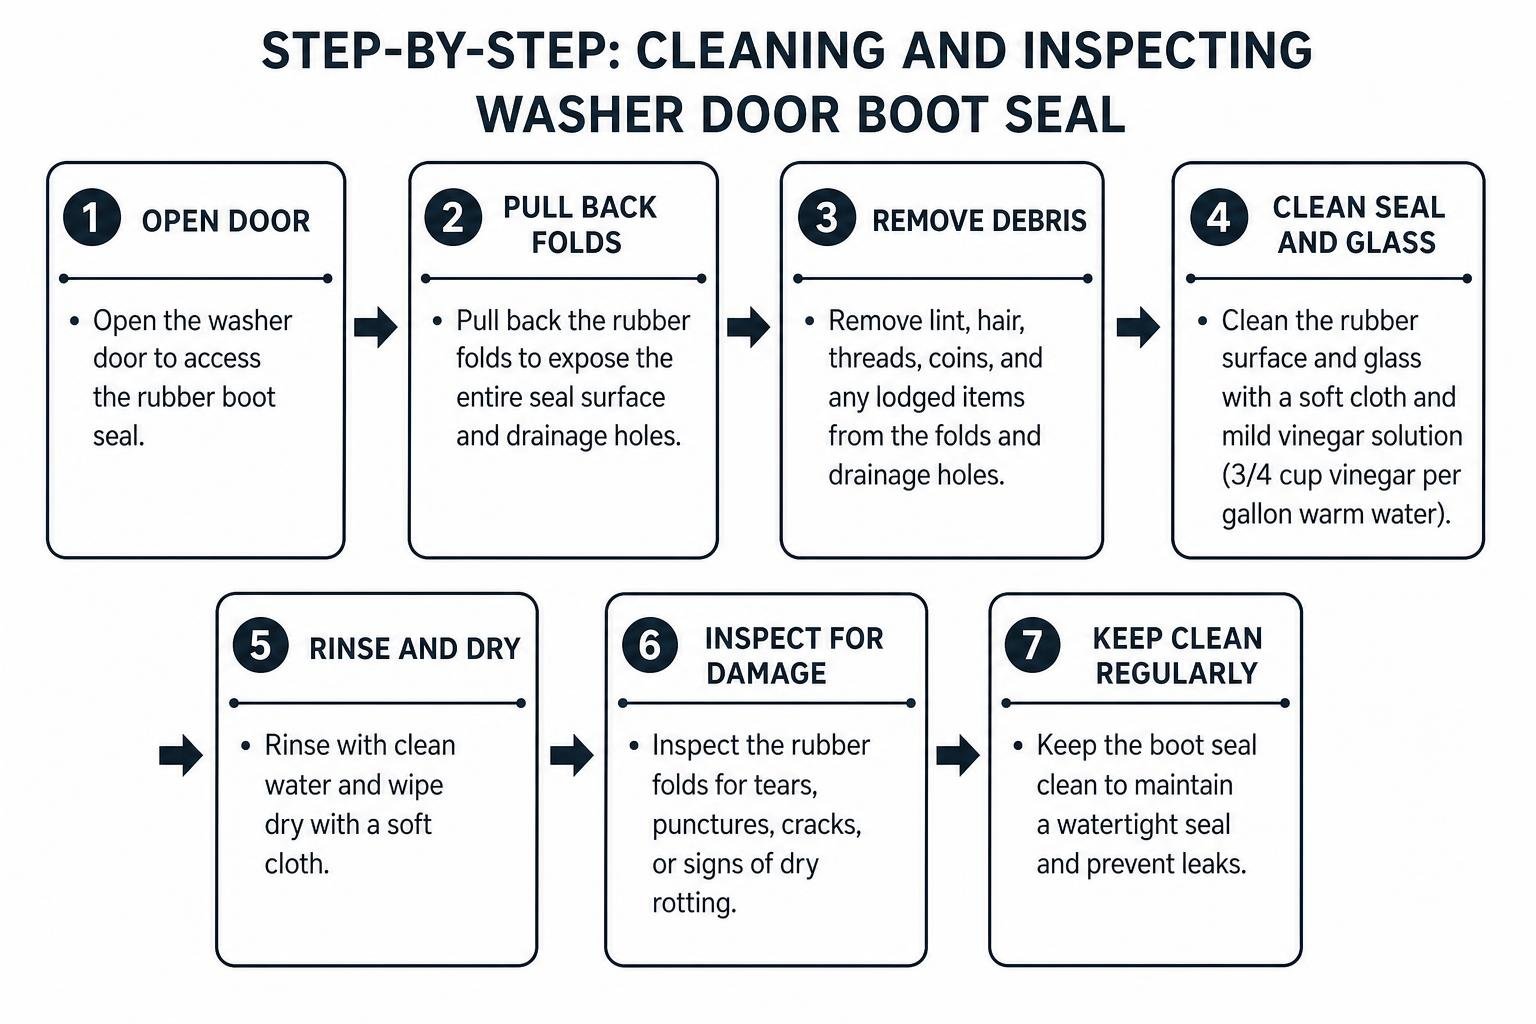
According to official Maytag front load leak troubleshooting, keeping this seal clean is critical for preventing front-panel drips. I recommend inspecting the rubber folds for small tears, punctures from unzipped jackets, or lodged items. Clean the rubber surface and glass thoroughly using a soft cloth dampened with a mild solution of 3/4 cup distilled white vinegar mixed into a gallon of warm water. Avoid using straight, undiluted bleach, as harsh chemical exposure causes premature dry rotting and cracking of the rubber gasket.
Step 2: Clear Clogs, Clean Filters, and Correct Soap Residue
Not every washer leak stems from a cracked pipe or broken part. In many homes I visit throughout Raleigh, Cary, and Durham, leaks are caused by simple maintenance oversights, such as blocked debris filters or excessive detergent suds pushing water out of internal safety vents.
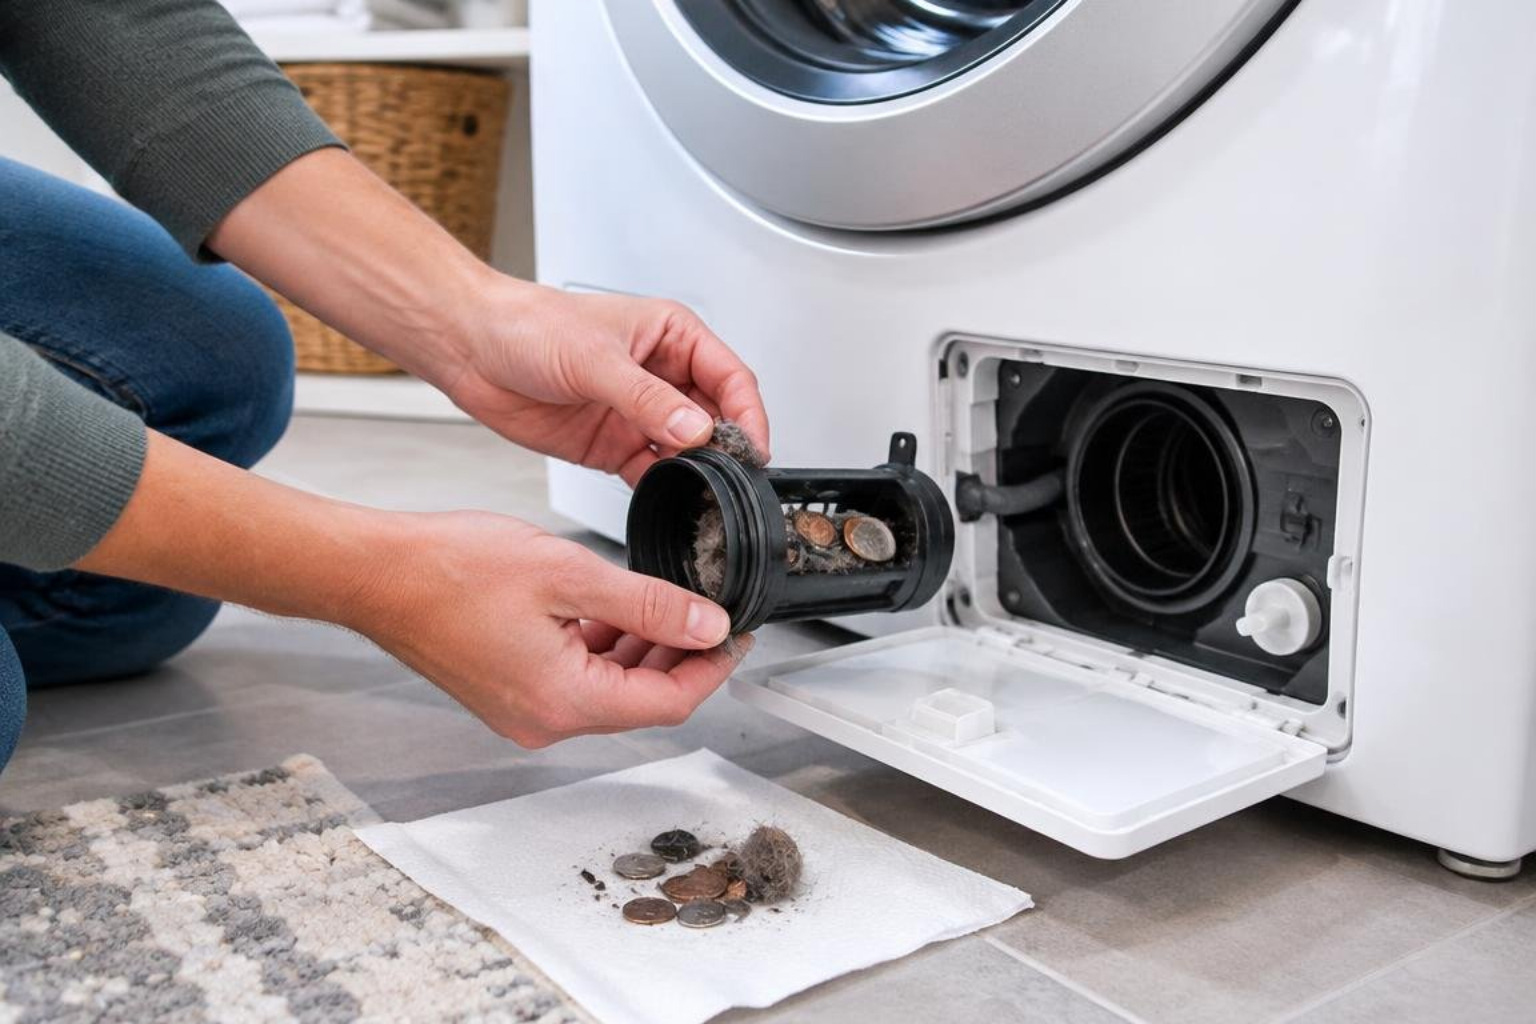
How to Clean the Drain Pump Filter and Coin Trap
Modern front-load machines feature an accessible drain pump filter—often called a coin trap—located behind a small lower access door on the front base. When this filter clogs with lint, coins, buttons, and hair, water drainage slows down, pump pressure increases, and water can seep past the filter threads.
To maintain proper drainage, clean this filter at least once a month or every 40 wash cycles. Per official Samsung troubleshooting recommendations, follow these steps to clean and reseat the filter safely:
- Turn off the washing machine and disconnect the electrical plug.
- Open the lower front access panel and place a shallow pan or absorbent towel beneath the door.
- Unclip the small emergency drain hose, pull the stopper plug, and allow all standing water to empty completely into your pan.
- Replace the stopper plug into the emergency hose and secure it back in its mounting clip.
- Turn the main drain pump filter handle counterclockwise to unscrew and slide the filter assembly out.
- Rinse the filter screen under warm running water, cleaning off lint and foreign objects with a soft brush.
- Inspect the internal pump housing cavity for trapped debris, ensuring the small rubber impeller blades spin freely.
- Reinstall the filter, turning clockwise until it is fully seated and tight. Avoid cross-threading the plastic housing, which can create a brand-new leak when the cycle begins.
Resolving Detergent Dispenser Drawer Overflow and Oversudsing
When detergent drawers leak, the issue is almost always a buildup of dried soap residue or using the wrong type of laundry soap. High-efficiency (HE) washers require low-sudsing HE detergent. Using standard non-HE soap—or overloading the drawer with concentrated formulas—produces a wall of thick foam. This foam backs up into the dispenser tray housing, overflowing down the front cabinet, or pushes out through the machine’s rear safety air vent.
Manufacturer guidance from Bosch washer leak troubleshooting highlights the importance of keeping dispenser channels clean. Press the release tab between the bleach and softener compartments to slide the entire drawer out. Scrub the compartments and siphons under warm running water to remove hardened fabric softener.
To prevent future dispenser clogs:
- Always dilute viscous fabric softeners 50/50 with clean water before pouring them into the dispenser cup.
- Never place single-dose laundry pods into the dispenser drawer; place them directly inside the empty wash drum before adding your clothes.
- Stick to 1 to 2 tablespoons of 2x concentrated HE detergent per regular load.
Step 3: Inspect, Tighten, and Replace Supply and Drain Lines
High water pressure and mechanical vibration place heavy stress on external hoses. A tiny drip behind your washer can quickly escalate into a catastrophic burst if neglected.
Water Inlet Hose Gaskets and Mesh Screen Maintenance
The hot and cold water supply lines attached to the back of your washer contain rubber sealing washers at both coupling ends. Over time, these rubber rings flatten, harden, and lose their flexibility, causing slow seeps down the back panel.
Shut off your household supply valves and unscrew the inlet hoses from both the wall spigots and the machine connections. Check the internal rubber washers; if they appear cracked, replace them with fresh high-grade rubber or silicone hose washers.
While the hoses are disconnected, use needle-nose pliers to gently remove the fine sediment mesh screens located inside the washer’s inlet valve ports. Rinse away accumulated mineral scale and sediment under running water, then press the screens back into position. When reconnecting your supply lines, thread the brass couplings carefully by hand to avoid cross-threading, then snug them an extra quarter-turn with channel locks. For peace of mind, replace standard rubber hoses every five years with braided stainless-steel lines.
Drain Hose Depth, Siphoning, and Standpipe Height Standards
Improper drain hose installation causes frequent mystery leaks and siphoning issues. As noted in Amana water issue guidance, your drain hose must be inserted into the standpipe between 6 and 8 inches.
If you push the drain hose more than 8 inches down into the pipe, it can dip below the water trap level, creating a vacuum siphon that pulls water out of the machine while it fills. Conversely, inserting the hose less than 6 inches risks allowing the discharge line to kick loose during rapid pump discharge.
Ensure your installation meets these plumbing dimensions:
- The standpipe opening must be positioned at least 18 inches off the floor (at least 30 inches for standard wall boxes) and no higher than 96 inches.
- If discharging into a laundry sink, maintain a rim height between 24 and 35 inches.
- Maintain an open air gap around the drain hose inside the standpipe; never tape or seal the drain hose opening airtight, which destroys the anti-siphon dynamic.
- Ensure household plumbing lines can accommodate a minimum flow rate of 17 gallons (64 L) per minute to avoid drain backups onto your floor.
Comprehensive Troubleshooting for Washer Leaking Repair
When basic hose tightening and filter cleaning do not resolve the issue, you must evaluate the internal mechanical structure of the machine.
Identifying Transmission Oil Leaks vs Water Leaks
Not all puddles under a washing machine are pure water. If you slide your washer away from the wall and discover a dark brown, black, or amber oily puddle on the floor, your machine is leaking gearcase oil rather than plumbing water.
Top-load washers use an internal mechanical transmission (gearcase) to drive the agitator and spin basket. When the heavy-duty tub seal above the transmission wears out, water enters the gearcase housing, degrades the internal oil, and forces a greasy emulsion out through the lower drive shaft seals.
A leaking transmission cannot be resolved with a quick external patch. It requires disassembling the inner wash tub, removing the drive hub, and replacing both the main tub seal and the complete gearcase assembly. If you spot greasy residue or hear loud roaring during spin cycles, review the signs your washing machine needs repair to understand your repair versus replacement options.
Essential Safety Steps Before DIY Washer Leaking Repair
Working around water and electricity requires caution. Before opening panels or inspecting internal parts, follow these safety steps:
- Cut Electrical Power: Always unplug the washer from the wall receptacle. If the plug sits in standing water, switch off the dedicated circuit breaker at your main panel before approaching the machine.
- Isolate Water Supplies: Close both hot and cold manual shutoff valves completely before disconnecting any hoses.
- Stage Work Area: Keep dry bath towels, a shallow catchment bucket, and slip-resistant footwear on hand to keep the work surface secure.
- Check Continuity with a Multimeter: If testing electrical solenoid valves or pump motors, ensure power is fully disconnected before checking electrical resistance.
When to Call a Pro for Complex Washer Leaking Repair
While cleaning a door seal or replacing an inlet hose is an easy weekend DIY task, certain structural washer failures require professional diagnostic equipment and specialized teardown tools.
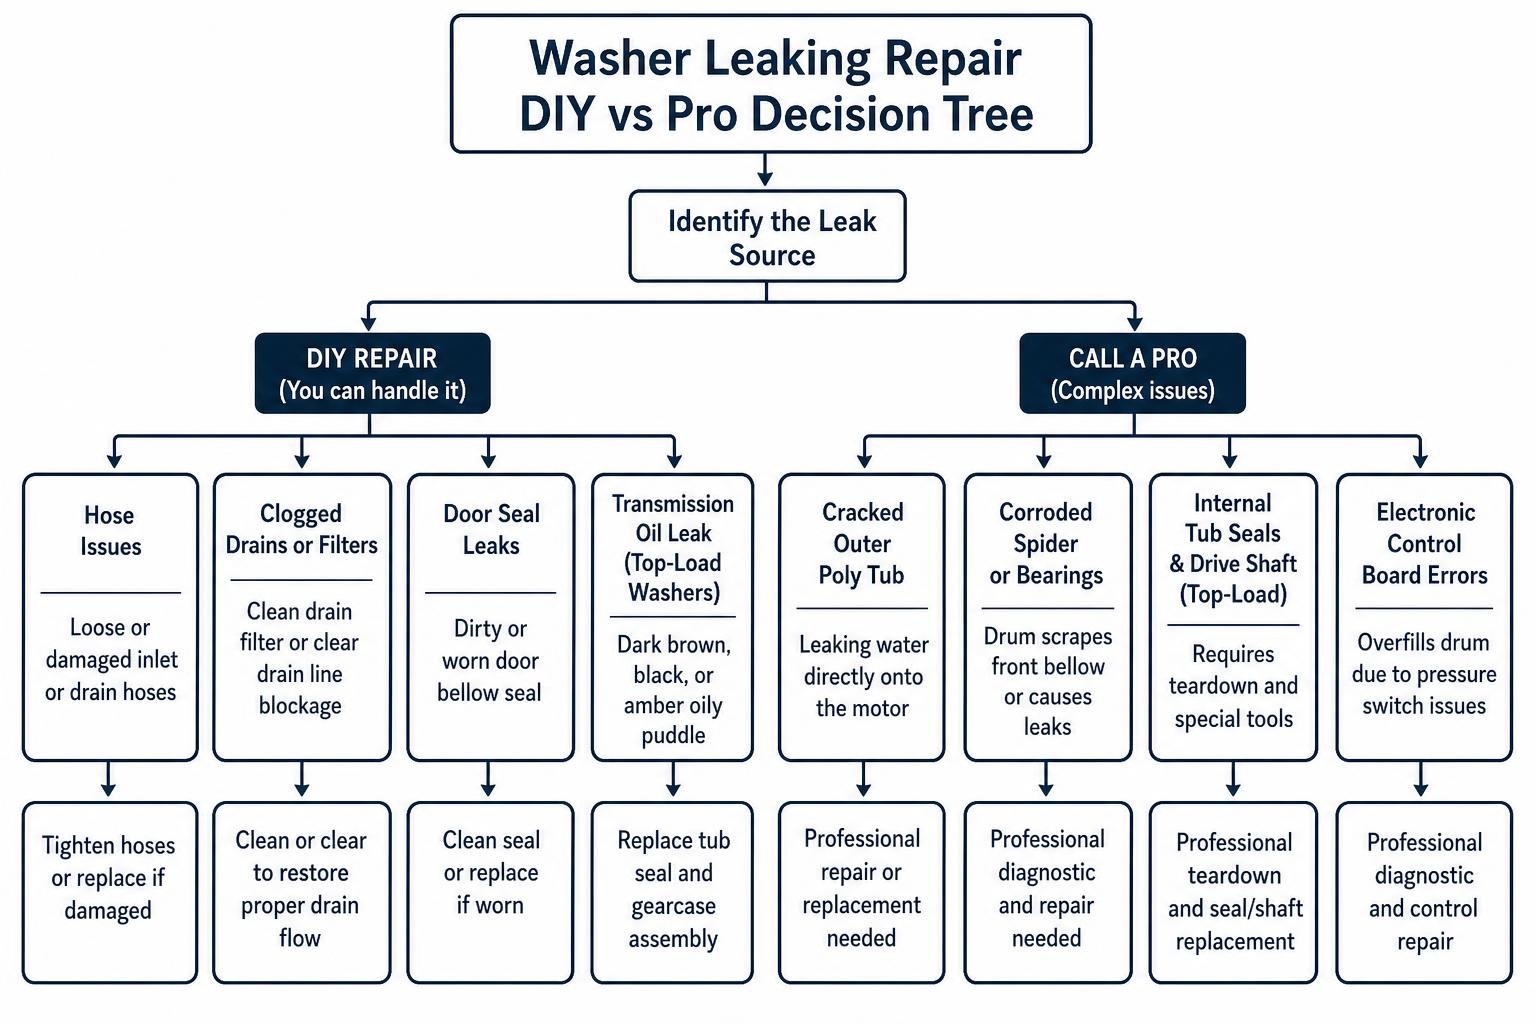
Contact a professional technician if your leak involves:
- A cracked outer poly tub assembly leaking water directly onto the motor.
- Corroded rear drum spider brackets or worn tub bearings that cause the drum to scrape the front bellow.
- Replacing internal tub seals and drive shaft assemblies on top-load models.
- Intermittent electronic control board errors causing water level pressure switches to overfill the drum.
If you run into persistent brand-specific error codes or component failures, our guides on Samsung washer troubleshooting and professional washing machine repair offer in-depth diagnostic assistance.
Frequently Asked Questions About Washer Leaks
Why is my washing machine leaking water during the spin cycle?
A spin-cycle leak is commonly caused by an unlevel machine, a worn tub cover gasket on top-load units, or a failing drain pump shaft seal. When a machine is unlevel, high-speed centrifugal force causes the inner tub to wobble erratically, sloshing water over the upper lip of the outer wash tub and down the internal cabinet walls onto your floor.
Can using non-HE detergent cause my washer to leak from the back?
Yes. Using standard non-HE detergent or using too much soap creates excess suds that cannot collapse quickly in low-water wash environments. As the drum spins, this thick foam rises and escapes through the cabinet safety air vent on the upper rear panel, running down the back and pooling on the floor.
How often should washing machine water inlet hoses be replaced?
Washing machine water inlet hoses should be replaced every five years. Over time, internal rubber linings dry out, stiffen, and develop micro-cracks under constant household water pressure. Upgrading to braided stainless-steel burst-proof hoses provides enhanced protection against catastrophic water leaks.
Conclusion
Resolving a washing machine leak does not have to be an overwhelming ordeal. By following a structured process—isolating the leak by wash cycle timing, maintaining your door gaskets and pump filters, and ensuring your supply and drain lines meet proper plumbing specifications—you can resolve most common water problems quickly.
If you have inspected your hoses, cleaned your filters, and leveled your appliance, but still find water pooling beneath your machine across Raleigh, Cary, Durham, Apex, Morrisville, Wake Forest, Chapel Hill, or surrounding Triangle communities, the local team at iFix Appliances is ready to help. Our technicians arrive with genuine OEM replacement parts to deliver accurate diagnostics and long-term repair solutions that keep your laundry room dry and running smoothly.

0 Comments