
Why Is Your Front Load Washer Leaking? Quick Diagnostic Steps
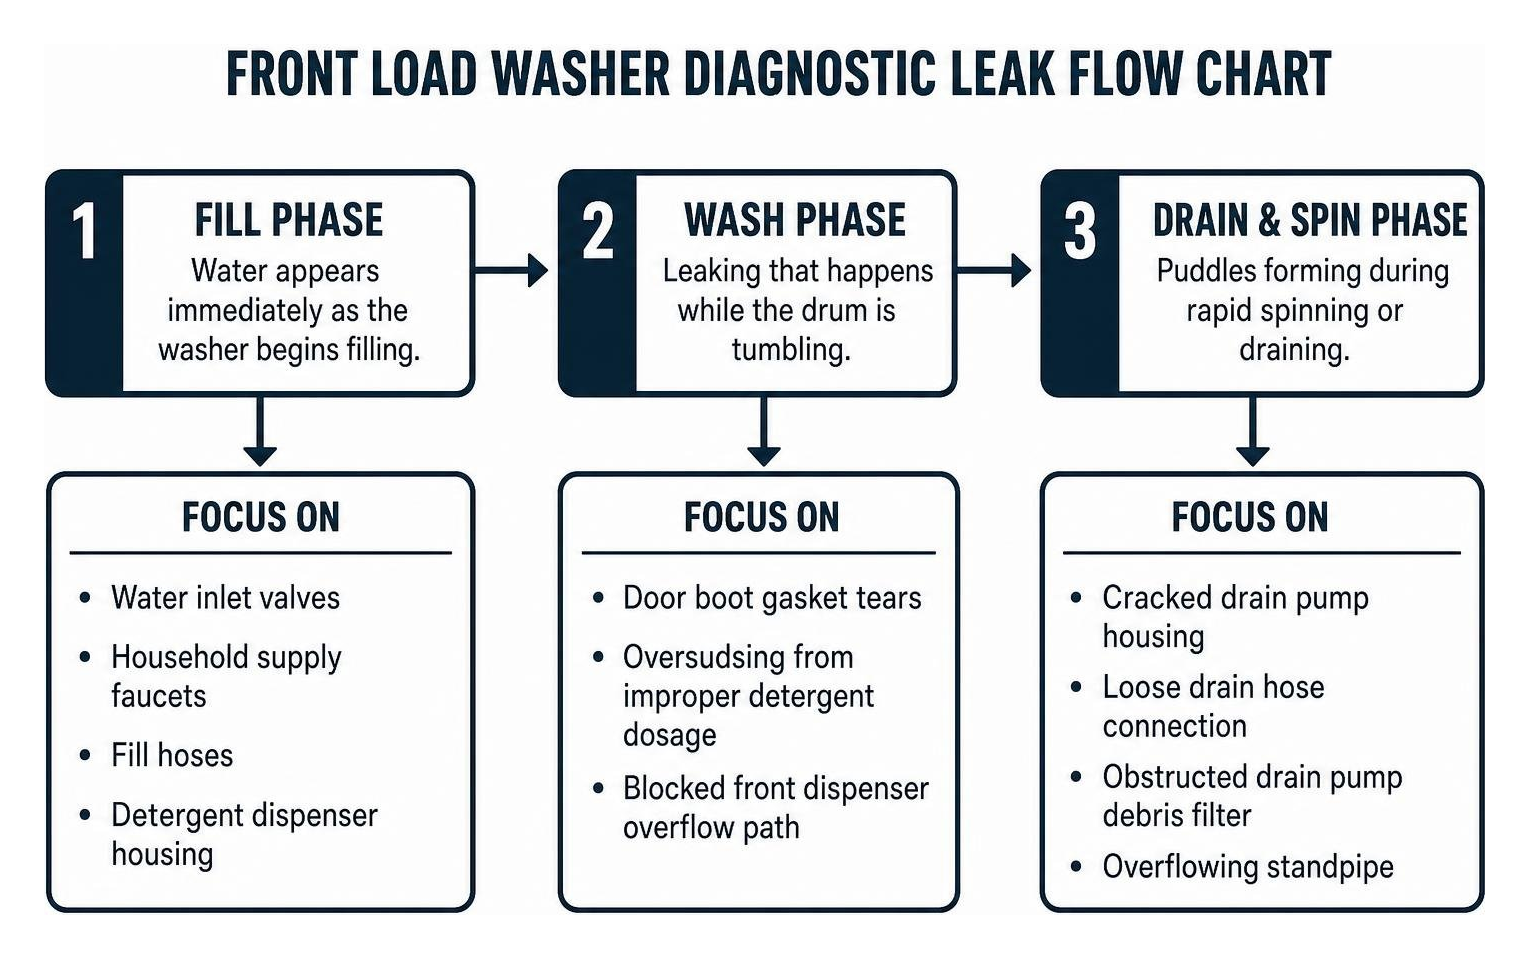
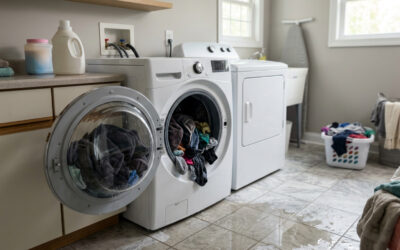
A front load washer leaking is most commonly caused by a torn door boot gasket, an overflowing detergent dispenser, leaking water inlet valves, a clogged drain pump filter, or worn internal hoses and seals. To quickly pinpoint the exact origin, track when water escapes during the machine’s operating cycle:
- Fill Phase: If water appears immediately as the washer begins filling with fresh water, focus your attention on the water inlet valves, household supply faucets, fill hoses, or the detergent dispenser housing.
- Wash Phase: Leaking that happens while the drum is tumbling usually points to door boot gasket tears, oversudsing from improper detergent dosage, or a blocked front dispenser overflow path.
- Drain and Spin Phase: Puddles forming during rapid spinning or draining typically indicate a cracked drain pump housing, a loose drain hose connection, an obstructed drain pump debris filter, or an overflowing standpipe.
Tracking your home’s water consumption through local municipal utilities like the Leak Detection resources provided by town public works can also help confirm if slow, hidden plumbing drips are happening behind your laundry room walls.
The Paper Towel Test for Pinpointing Leaks
Because water drips run downward along structural frame rails, visual inspection alone can be deceiving. The paper towel test is one of the easiest, most reliable diagnostic tricks in our trade:
- Completely dry the exterior cabinet, door frame, and floor surrounding the unit.
- Place clean, dry sheets of paper towel along the front lower panel seam, directly beneath the detergent drawer, and around the rear water supply connections.
- Run a short, empty rinse cycle while monitoring the towels.
- As soon as a section of paper towel darkens with moisture, look directly above that exact point.
This simple test prevents you from misdiagnosing a simple upper dispenser overflow as a severe internal tub leak.
Water Source Isolation: Supply vs Drainage
To determine whether the issue is pressurized supply water or wastewater drainage, observe the machine while it is turned off.
If water continues to pool or drip while the washing machine is powered down and idle, you are dealing with a supply-side issue—such as a cracked fill hose, worn rubber washer, or a dripping water inlet solenoid valve that is failing to close completely. Conversely, if water only escapes while the unit is actively washing, draining, or spinning, the leak exists on the dynamic drainage or sealing side of the appliance.
5 Common Trouble Spots Causing Washer Leaks
What Causes a Front Load Washer Leaking From the Door?
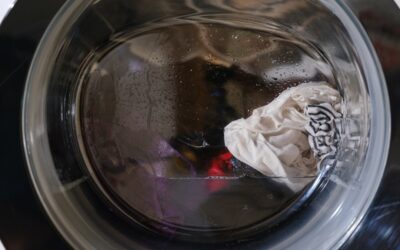
The heavy rubber bellows—commonly known as the door boot seal—forms the watertight barrier between the spinning wash basket and the outer cabinet. Because front loaders hold water directly against the front glass during operation, any compromise in this seal allows water to escape.
The most common causes of door seal leaks include:
- Debris and Lint Accumulation: Pet hair, lint, and residue create small gaps between the glass and the rubber. In fact, about 30% of door leaks are resolved with nothing more than a deep cleaning of the gasket folds.
- Clogged Bellows Drain Holes: At the six o’clock position inside the rubber folds, small weep holes allow trapped water to drain back into the tub. When hairpins, coins, or lint plug these holes, water collects in the folds and spills over the front lip.
- Punctures and Tears: Forgotten screws, open zippers, and bra underwires can snag the rubber, creating tears or pinholes.
With proper maintenance, a door seal should last 7 to 10 years; heavy use or poor maintenance can reduce this lifespan to 3 to 5 years. While minor surface grime can be cleaned with a 50/50 mix of white vinegar and warm water, torn or brittle rubber cannot be reliably glued or patched long-term. When physical damage occurs, scheduling timely washer repair to replace the door boot ensures your subflooring stays protected from persistent moisture damage.
Detergent Dispenser Drawer Overflow and Oversudsing
Front load washers are engineered as closed, low-water systems. When non-HE (High-Efficiency) detergent or excessive amounts of concentrated soap are used, the tumbling action whips the detergent into dense foam.
This oversudsing forces soapy water out through the safety air vents, dispenser housing, and siphon channels. Additionally, hardened fabric softener and powdered detergent can clog the internal siphon caps inside the dispenser drawer. When water flushes into the drawer at municipal pressure, the blocked channel causes water to back up and run down the inside of the front panel.
To fix this:
- Remove the dispenser drawer completely by depressing the release tab at the back of the softener compartment.
- Soak the drawer in warm water and scrub away crusted detergent using a soft brush.
- Clean out the internal spray nozzles inside the ceiling of the dispenser cavity before reinstalling the drawer firmly.
Clogged Drain Pump Filter
Most modern front loaders feature a small access door on the lower front panel that houses the drain pump filter (also called the coin trap). This filter protects the pump impeller from foreign objects like buttons, hair clips, and coins.
Manufacturers like LG recommend cleaning out the drain pump filter of any lost items and lint buildup on a monthly basis.
When debris accumulates:
- The water path becomes restricted, causing the pump chamber to back up under pressure.
- If the filter cap was previously removed and cross-threaded, or if its rubber O-ring is dirty, pinched, or dried out, water will steadily seep from the service door during high-speed drain cycles.
Always place a shallow pan and towels beneath the drain tube before opening the filter chamber to catch residual trapped water.
Leaking Water Inlet Valves and Supply Hoses
The inlet valve assembly at the top rear of the washer connects directly to your home’s hot and cold water supply lines. Over years of thermal expansion and vibration, the internal solenoid seals can crack or seize.
Common issues include:
- Brittle Hose Washers: Standard black rubber hose washers degrade, harden, and crack over time.
- Loose or Cross-Threaded Fittings: Plastic valve inlet threads can strip if metal hose couplings are overtightened. Hand-tightening followed by a 1/2 turn with pliers is the industry standard.
- Corroded Supply Hoses: Rubber fill hoses are prone to internal blistering and sudden bursting. Upgrading to braided stainless steel hoses eliminates this risk.
Taking on complex internal plumbing connections without the right tools can quickly turn a minor drip into an active flood. Recognizing the 5 warning signs your DIY appliance repair is headed for disaster will help you know when to step back and let an experienced professional handle the repair.
Why Is My Front Load Washer Leaking From the Bottom?
When water pools directly underneath the center of the washer base, the leak typically originates from deep internal mechanical components.
The primary culprits include:
- Internal Sump and Recirculation Hoses: The flexible rubber boots connecting the outer tub to the drain pump can be punctured by stray objects that slip past the drum.
- Drain Pump Housing Assembly: High-speed plastic impellers and pump motor shaft seals wear out, allowing water to drip from the motor housing during the drain phase.
- Tub Seam and Rear Bearing Seals: If your washer has grown increasingly noisy during spin cycles—sounding like a jet engine taking off—the rear tub bearing and shaft seal may have failed. Once the seal degrades, water leaks through the bearing housing directly down the back of the outer tub.
Understanding the relationship between drum mechanicals and draining issues can also help when learning how to fix a washer not spinning even if you’ve failed in the past, as drainage faults frequently trigger drum lockouts.
| Leak Source | Typical Symptom | Primary Cause | Average Repair Type |
|---|---|---|---|
| Door Boot Gasket | Water dripping down front panel | Torn rubber, hair buildup, or clogged weep holes | Clean seal or replace gasket |
| Dispenser Drawer | Water running from top drawer seam | Hardened soap buildup or oversudsing | Deep clean drawer and siphon caps |
| Drain Pump Filter | Leaking from lower access panel | Debris clog or damaged cap O-ring | Clean filter and reseat cap |
| Water Inlet Valve | Continuous drip when machine is idle | Cracked plastic body or failed internal solenoid | Replace inlet valve assembly |
| Internal Drain Pump | Puddle beneath center of machine | Cracked pump housing or worn impeller shaft seal | Replace drain pump assembly |
| Tub Bearing / Seal | Bottom center leak accompanied by loud roar | Failed main tub seal allowing wash water into bearings | Replace rear tub/bearing assembly |
Prevention and Maintenance: Stopping Leaks Before They Start
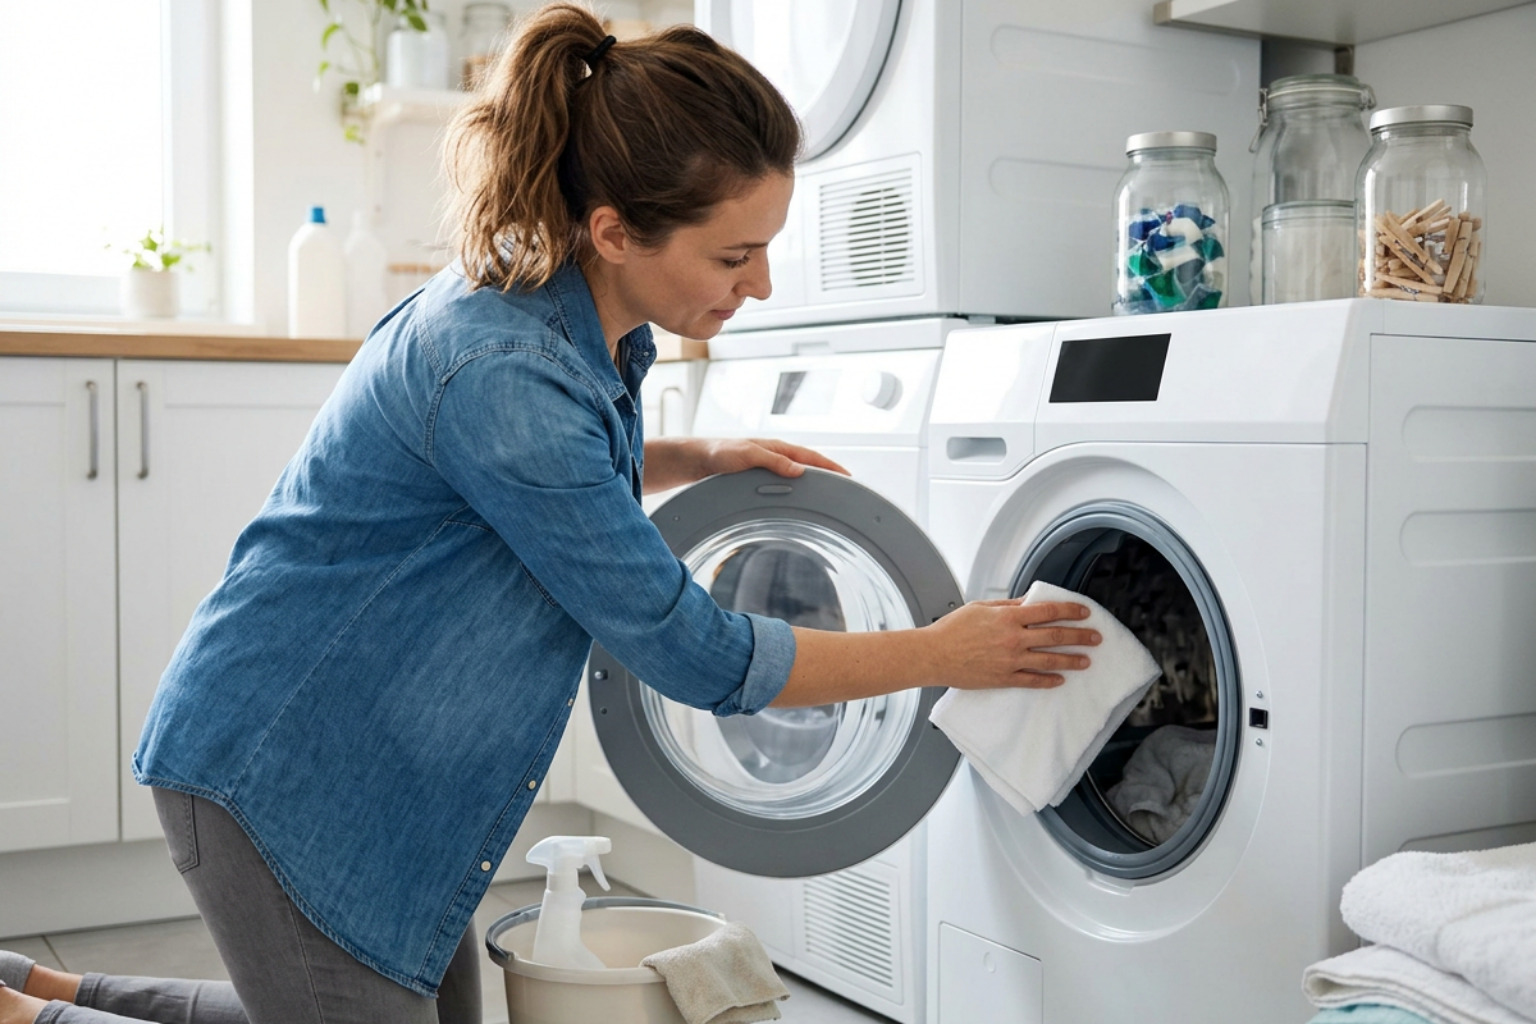
Preventing washer leaks comes down to routine maintenance and correct operational habits:
- Use Proper Detergent Chemistry: Never use standard non-HE detergents in a front load machine. Limit HE detergent to 1 to 2 tablespoons per regular load. Excess soap does not make clothes cleaner; it only creates suds that escape past seals.
- Clean the Tub Regularly: A tub clean cycle should be performed at least once per month or more depending on wash frequency and detergent use to dissolve detergent scum, scale, and lint.
- Keep the Door Ajar: When the machine is not running, leave the door cracked open 1 to 2 inches to allow the bellows to dry thoroughly, preventing mildew from breaking down the rubber.
- Inspect Pockets Thoroughly: Coins, screws, golf tees, and hairpins are the primary destroyers of front load door seals and internal pump impellers.
- Check Washer Leveling: Ensure all four leveling feet sit flat and locked against the floor. An unlevel machine rocks violently during spin cycles, putting undue stress on internal hose clamps and the door latch assembly.
Catching minor issues early keeps your laundry routine running smoothly. Reviewing our guide on 5 signs your washer needs repair and how to fix it fast in Raleigh will help you spot emerging problems before water damages your flooring or baseboards.
Frequently Asked Questions About Washing Machine Leaks
Can too much detergent cause a front load washer to leak?
Yes. Overdosing detergent or using non-HE formulas produces excess suds (oversudsing). Because foam takes up far more volume than liquid water, it forces its way out through the machine’s safety air vents, dispenser drawer seams, and door bellows. This foam then condenses back into liquid water and runs down the outer cabinet onto your floor.
How much does it cost to fix a front load washer leak?
The cost depends on the component that failed. A basic DIY door seal replacement generally costs between $50 and $200 for parts, while professional repair ranges from $150 to $400 depending on make and model. Considering a new seal costs $50 to $150 and can add several years to your washer’s life, repairing a quality machine is far more economical than spending $800 to $1,500 on a brand-new front load washer.
How often should I clean the drain pump filter?
You should clean your front load washer’s drain pump filter at least once per month. If you wash heavily soiled work clothes, pet bedding, or notice your washer taking longer than normal to drain, check and clear the filter every two to three weeks to prevent clogs and pressure leaks.
Conclusion
A leaking front load washing machine does not automatically mean you need a brand-new appliance. By isolating whether the drip happens during filling, tumbling, or draining, you can quickly determine if the culprit is a dirty door gasket, clogged dispenser drawer, loose hose, or an obstructed pump filter.
When troubleshooting basic seals does not stop the water, or if you suspect an internal pump or tub bearing failure, our experienced team at iFix Appliances is here to help. We provide fast, dependable, and honest diagnostic and repair solutions across Raleigh, Cary, Apex, Garner, Durham, Morrisville, Wake Forest, and surrounding communities. Give us a call or book online to protect your laundry space and restore your appliances to peak performance today.
0 Comments