
Why Your Dryer Knob Fell Off in the First Place
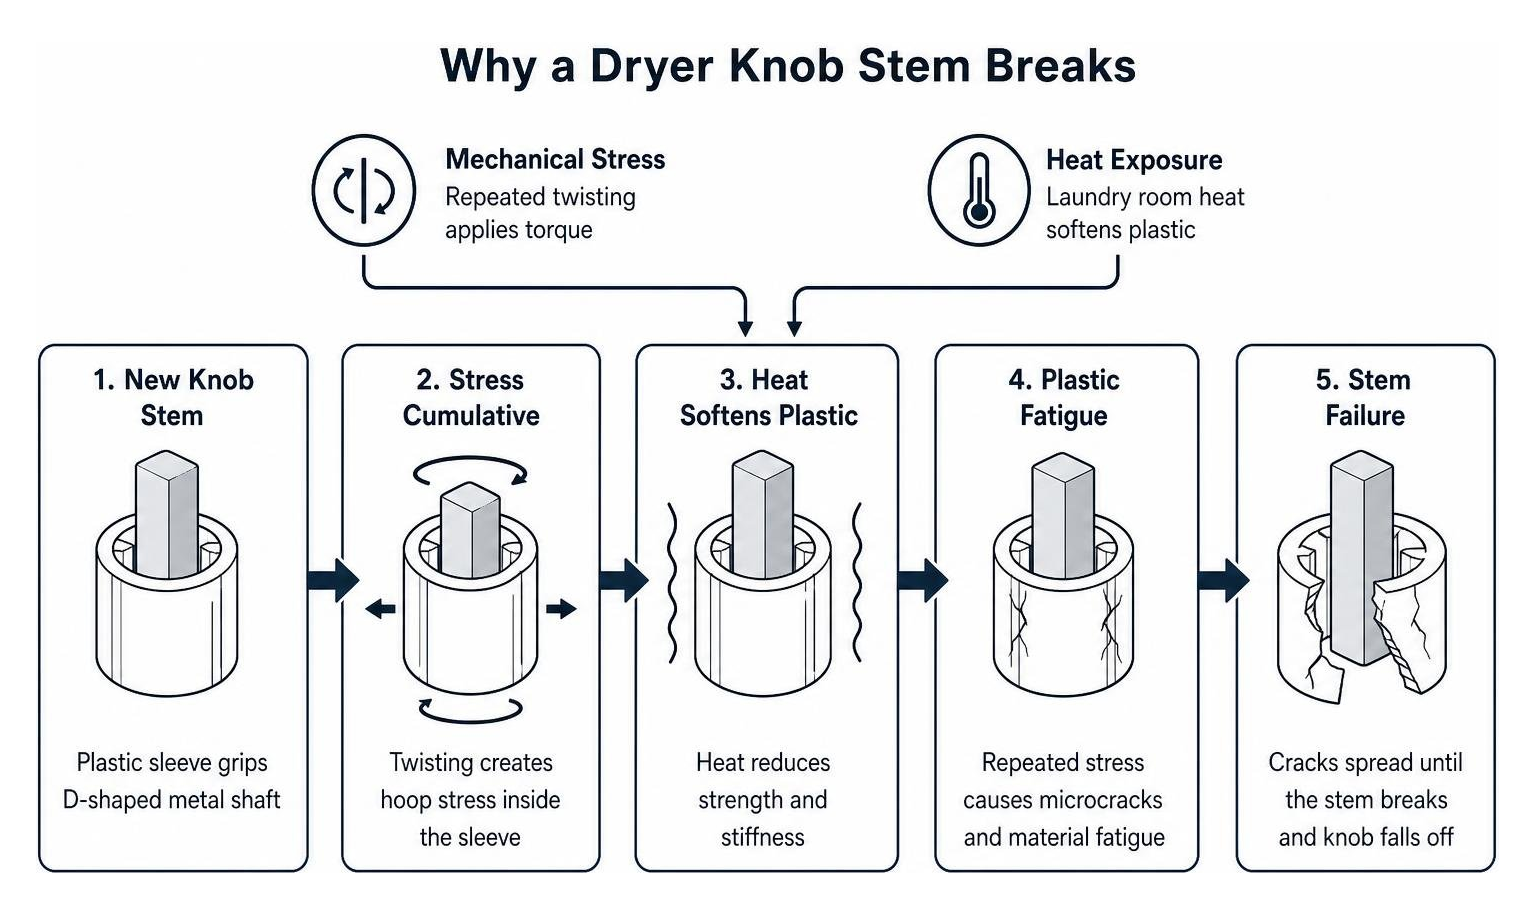
When your dryer knob fell off in the middle of setting a cycle, it usually feels like an unexpected breakdown. However, plastic control components are constantly subjected to stress. Over months and years of regular laundry, turning the dial requires torque that slowly degrades the synthetic material inside the stem.
Dryer knobs rely on an internal plastic socket (often called a D-shaft sleeve) to grip the flat-sided metal control post. Laundry rooms experience broad temperature fluctuations, and exposure to heat softens high-density polyethylene and ABS plastics over time. Combined with repeated twisting force, this heat causes plastic fatigue. If you notice other performance issues while troubleshooting your control panel, keeping up with maintenance is critical because ignoring dryer problems can cost you more in 2025.
Plastic Fatigue and Hoop Stress
To understand why the internal sleeve breaks, it helps to understand a basic physics concept called hoop stress. When you press down and twist a dryer knob, the D-shaped metal shaft exerts outward pressure against the inside of the hollow plastic stem.
This outward directional tension is known as hoop stress. Over time, plastic fatigue weakens the stem walls. Eventually, the outward force exceeds the strength of the plastic, causing a split along the length of the socket. Once split, the sleeve can no longer pinch the metal shaft tightly, causing the knob to spin uselessly or fall off entirely.
Stiff Timers and Missing Metal Inserts
While plastic fatigue is common, secondary factors can accelerate knob failure:
- Stiff mechanical timers: Mechanical timers house internal gears and heavy-duty electrical contacts. As a timer ages, internal friction increases. Turning a stiff timer places double the rotational torque on the outer plastic knob.
- Missing metal tension clips: Many manufacturers insert a small spring-steel clip into the knob’s D-shaped socket. This clip distributes clamping force evenly around the shaft. If the clip slips out during cleaning or snaps from rust, the bare plastic takes the full load and cracks immediately.
Step-by-Step Diagnosis: Knob Damage vs. Broken Timer Shaft
Before spending money on replacement parts, you must figure out whether the plastic knob itself is broken or if the underlying electrical control shaft is damaged.
Inspecting the Stem After the Dryer Knob Fell Off
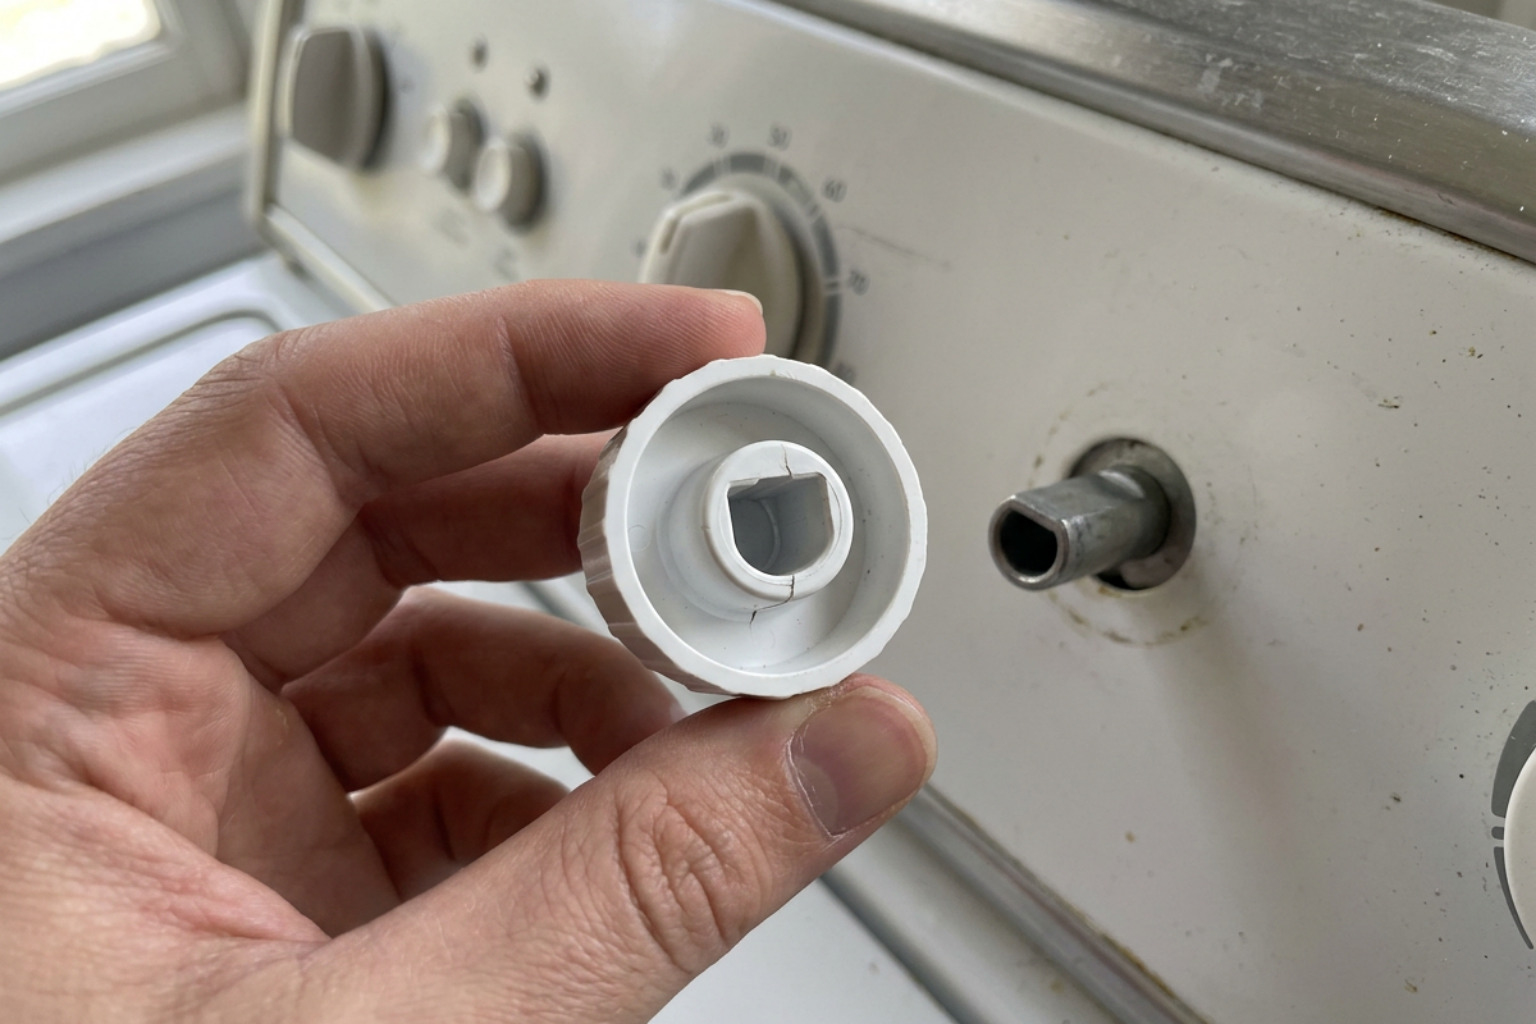
Pick up the knob that fell off and look directly into the rear receiving sleeve using a flashlight. Check for these common issues:
- Hairline cracks: Look closely along the length of the plastic cylinder. Even a tiny split will allow the socket to expand under pressure.
- Stripped D-groove: Check if the flat side of the inner D-shape has rounded out.
- Leftover metal clip: Look at the exposed metal shaft on your dryer’s console panel. Frequently, the broken knob’s inner metal tension clip remains stuck on the metal shaft. If you try to push a new knob over a leftover clip, it will not fit. Use needle-nose pliers to remove any stuck clips from the shaft first.
If you suspect underlying driving motor or drum issues beyond the control panel, read our guide on what to do when your dryer drum is not spinning and just humming to rule out electrical overloads.
Testing Shaft Rotation with Pliers
To determine if the internal timer mechanism is functioning properly:
- Unplug the dryer or flip off the dedicated circuit breaker.
- Gently grip the flat sides of the exposed metal control shaft with needle-nose pliers.
- Rotate the shaft clockwise (the standard direction for dryer controls).

If the shaft turns smoothly with moderate, consistent resistance and clicks clearly into cycle detents, your timer is fine—you only need to repair or replace the knob. However, if the shaft feels completely seized or turns loosely without clicking, the internal switch gears are stripped. In that case, check out our walkthrough on how to fix a dryer the right way or contact a professional.
How to Repair a Cracked Plastic Stem with Wire and Epoxy
If you need a quick repair and cannot wait for a replacement part to ship, you can rebuild the split sleeve stem. Standard super glue alone will fail because it cannot handle rotational hoop stress. You need a structural collar around the outside of the split stem.
| Repair Method | Cost | Durability | Time Required | Best Used For |
|---|---|---|---|---|
| Super Glue Only | ~$3 | Very Low (fails in days) | 5 Minutes | Emergency single-load use |
| Epoxy & Wire Wrap Collar | ~$5 | High (lasts months/years) | 24 Hours (includes cure time) | DIY repair of minor stem cracks |
| New OEM Replacement Knob | ~$12 – $40 | Maximum (Factory Standard) | 2 Minutes | Permanent, hassle-free fix |
Preparing Materials and Roughening the Plastic
To complete this DIY structural repair, gather:
- 220-grit sandpaper
- Isopropyl alcohol (90% or higher)
- Two-part plastic epoxy or JB Weld Plastic Bonder
- Thin 22-gauge copper or steel wire
- Wire cutters and needle-nose pliers
Start by cleaning the broken knob stem thoroughly with isopropyl alcohol to remove laundry dust and grease. Smooth plastic surfaces prevent adhesives from gripping properly. Take your 220-grit sandpaper and lightly scuff the outer circumference of the cracked plastic sleeve to create a rough texture for the epoxy to bond with.
Wire-Wrapping to Prevent Future Hoop Stress
- Apply initial epoxy: Mix equal parts of your two-part epoxy. Dab a small amount directly into the split seam of the plastic stem using a toothpick, pressing the split closed so the internal D-shape stays true.
- Wrap tension wire: While the epoxy is still tacky, wrap 22-gauge wire tightly around the outer stem 3 to 4 times. Twist the wire ends together tightly with pliers to pull the split together, then snip off excess wire. This wire coil acts like rebar, absorbing the outward hoop stress when you turn the dial.
- Encapsulate the collar: Coat the wrapped wire completely with a 2 to 3 mm layer of additional two-part epoxy. Be careful not to let any epoxy drip into the inside of the D-shaped socket hole.
- Cure completely: Allow the knob assembly to cure undisturbed for a full 24 hours before pressing it back onto the metal dryer shaft.
For detailed brand-specific knob tutorials, consult this guide on GE dryer start knob stem repair or review broader methods in this overview on how to repair a broken dryer knob.
How to Replace a Broken Dryer Knob with an OEM Part
While an epoxy wire-wrap fix works well, replacing the cracked knob with a brand-new Original Equipment Manufacturer (OEM) part is the cleanest solution.
Finding Your Model Number for the Right OEM Knob
Avoid guessing when buying replacement appliance parts. Dryer knobs may look identical from the front, but their internal stem length, D-shaft diameter, and flat-edge alignment vary across models.
To find your exact model number, check:
- The inner rim of the dryer door frame.
- The side edge of the door cavity.
- The upper rear corner of the back console cabinet.
Use this full model number to look up factory-approved knobs on reputable parts supplier databases, like finding a genuine GE control knob assembly WE01X20380 or matching your brand’s specific components.
Installing the New Control Knob Properly
- Clear the shaft: Verify that the old metal clip is not stuck on the dryer timer shaft.
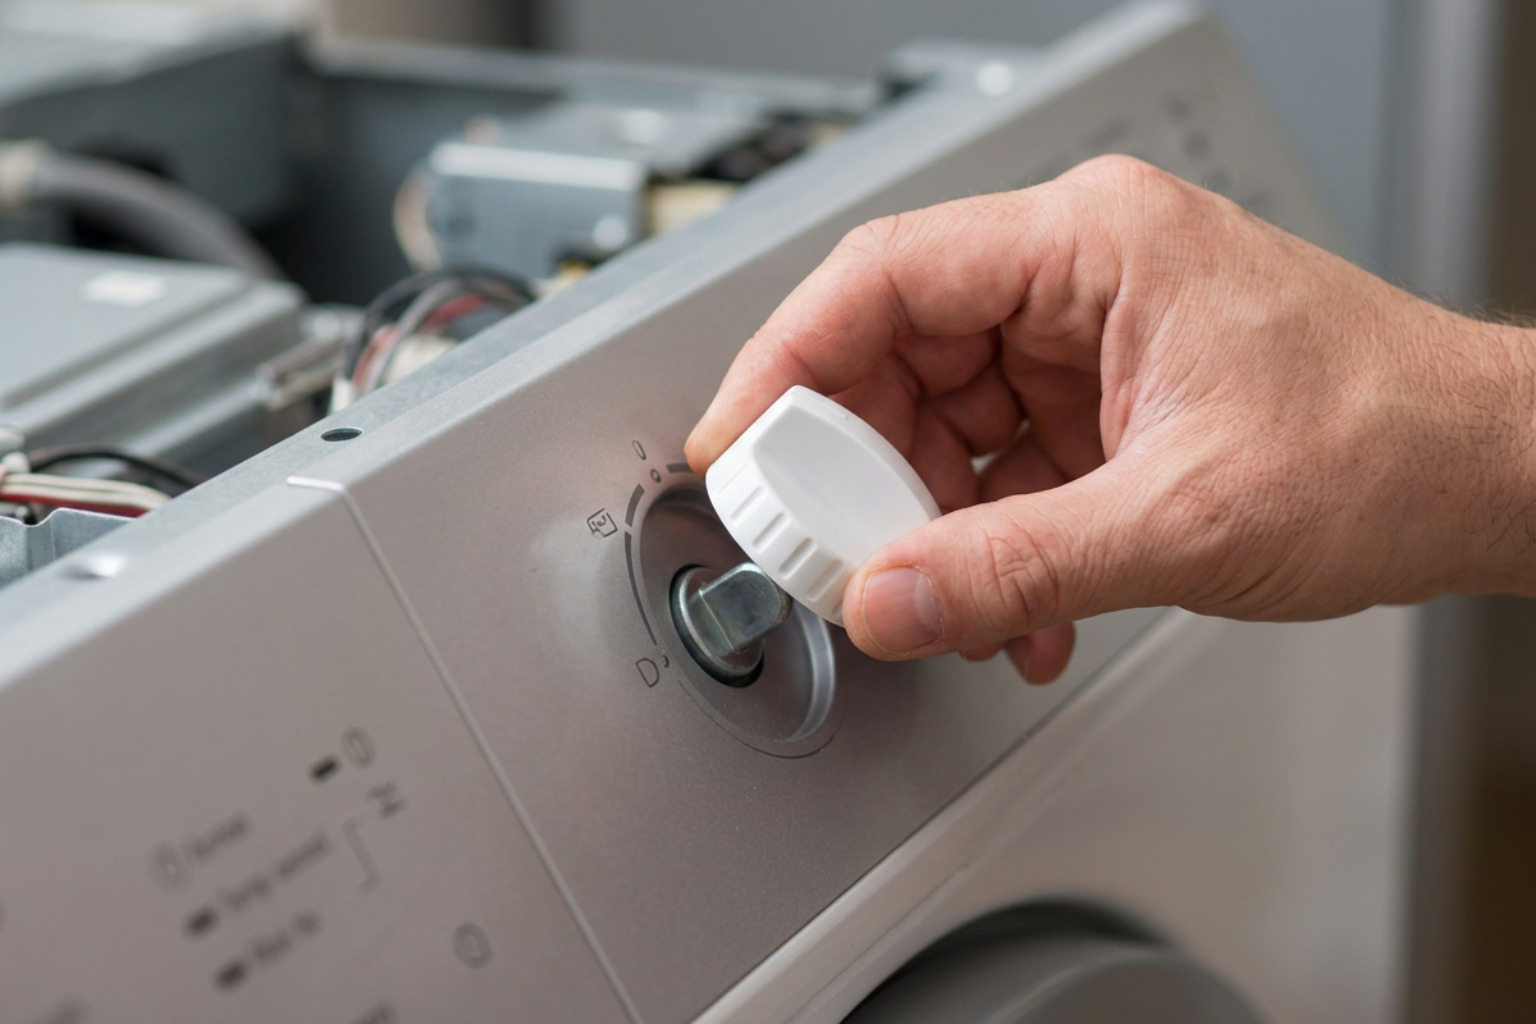
- Align the flat side: Look at the exposed metal control post and locate its flat edge. Align the flat side of the internal D-groove in your new knob with the flat edge of the post.
- Push straight on: Support the back of the control console with one hand if possible, then push the new knob straight onto the shaft until it sits flush against the panel skirt.
- Test operation: Turn the new knob through several cycles to ensure it operates smoothly without slipping.
Frequently Asked Questions About Dryer Knobs
What should I do if the dryer knob fell off along with a broken metal shaft?
If the metal shaft itself has snapped off flush with the console panel, the plastic knob is not your primary issue. Metal posts are permanently attached to the internal timer motor or cycle selector switch assembly. When the post snaps, you must replace the entire internal switch assembly.
This job requires disconnecting electrical power, removing the console rear panel screws, capturing a photograph of the wire lead positions, and swapping in a new timer module. If you are uncomfortable working with internal wiring harnesses, our team at iFix Appliances can safely handle the electrical repair for you.
Can I use super glue or pliers as a long-term fix?
No. Super glue cures into a brittle bond that quickly shatters under rotational force.
Using pliers directly on an exposed metal control shaft for extended periods is also a bad idea. Steel pliers will strip, gouge, and flatten the precise shape of the metal D-post. Over time, this damage prevents new replacement knobs from fitting properly and can destroy the delicate gear bearings inside the timer.
Why are universal knobs not recommended for dryers?
Universal replacement knobs use generic plastic inserts or side-mounted set-screws to accommodate various shaft sizes. In our experience, these multi-fit adapters often slip under high timer tension. As the set-screw digs into the metal control post, it distorts the D-shaft profile. Investing in an authentic OEM knob ensures perfect fitment and prevents damage to your appliance’s control mechanisms.
Conclusion
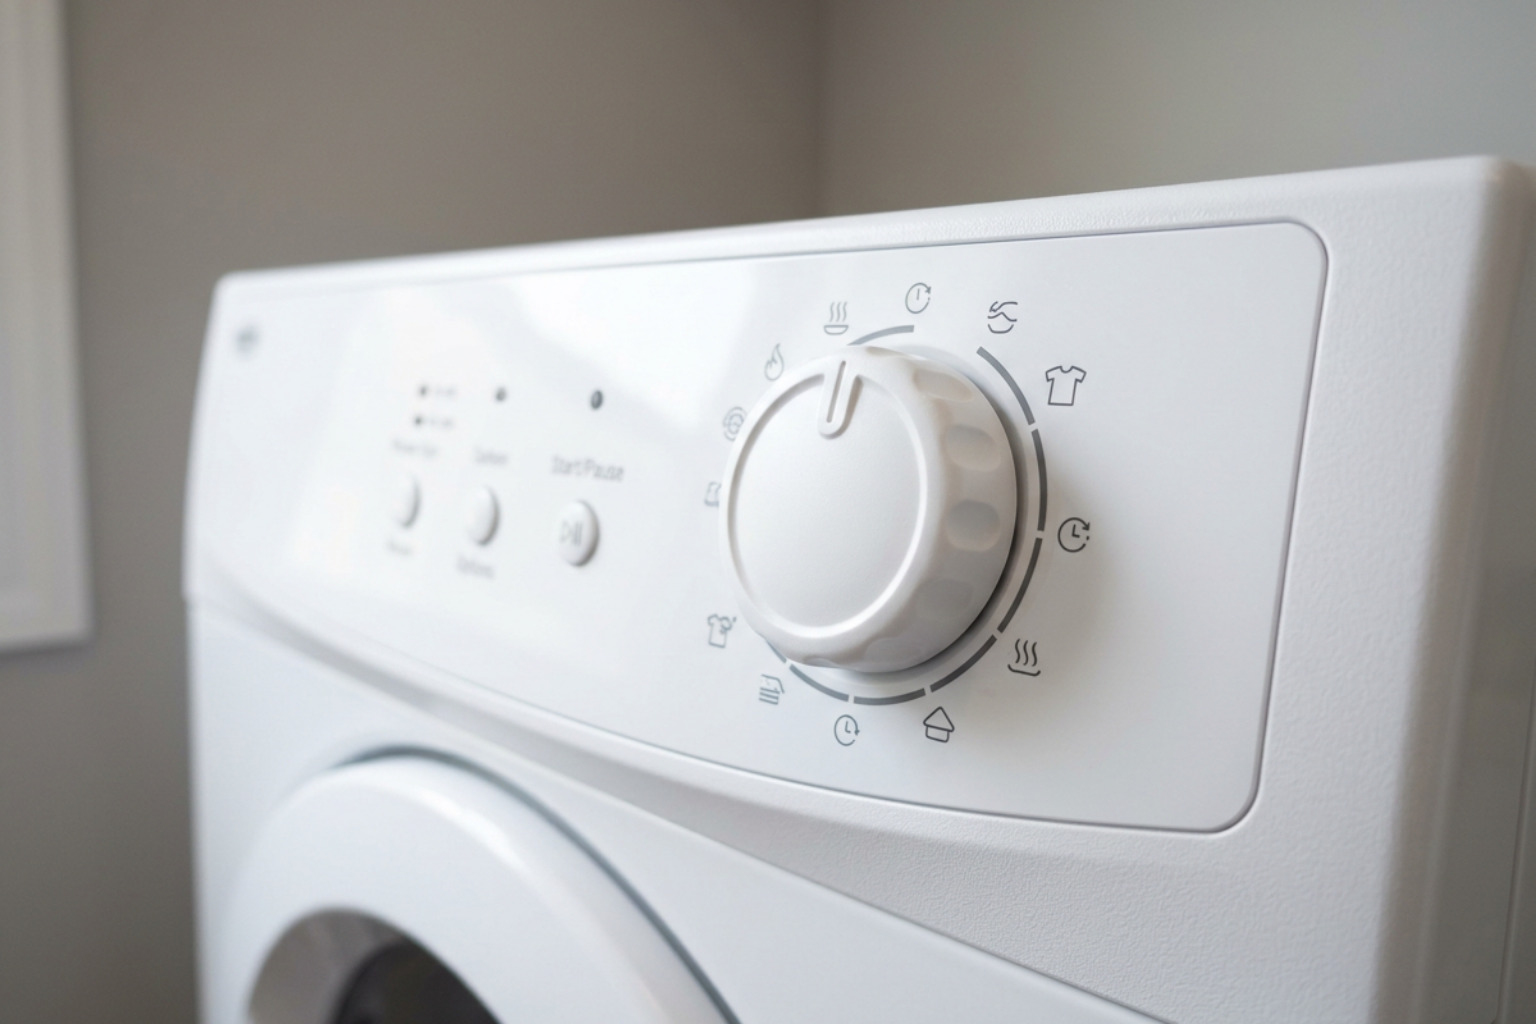
When your dryer knob fell off, you do not need to let a minor plastic failure disrupt your household routine. By assessing the plastic stem for hoop stress cracks, clearing away stuck tension clips, and choosing between an epoxy wire-wrap repair or a direct OEM replacement part, you can easily restore your dryer’s control panel.
If you inspect your dryer control panel and discover a seized internal timer motor, a broken metal post, or underlying electrical issues, we are here to help. At iFix Appliances, we provide reliable, fast, and transparent diagnostic services across the Triangle area.
Explore our professional dryer repair services or reach out through our contact page to schedule an appointment with our experienced technicians today!

0 Comments