
When Your Refrigerator Stops Making Ice: What to Check First
If your refrigerator is not making ice, here are the most likely causes and quick fixes:
| Cause | Quick Fix |
|---|---|
| Ice maker is turned off | Check the on/off switch or control panel |
| Freezer too warm | Set freezer to 0°F and verify with a thermometer |
| Clogged water filter | Replace filter if older than 6 months |
| Kinked or frozen water line | Inspect line behind fridge; thaw if frozen |
| Frozen fill tube | Use a hair dryer on low to thaw |
| Jammed ice or faulty sensor | Clear ice buildup; wipe optical sensor lenses |
You reach into the freezer for ice and get nothing. No cubes, no crunch — just an empty bin and a dispenser that clicks uselessly. It’s one of those small frustrations that somehow ruins your whole evening.
The good news? Most ice maker failures have simple causes — and many can be fixed without calling anyone.
Ice makers typically produce 2 to 3 pounds of ice every 24 hours, but that only happens when several things go right at once: the right freezer temperature, clean water flowing at the right pressure, and a handful of mechanical parts all doing their jobs. When any one of those fails, production stops completely.
This guide walks you through the 6 most important things to check first, in order from easiest to most involved — so you’re not replacing parts you don’t need to.
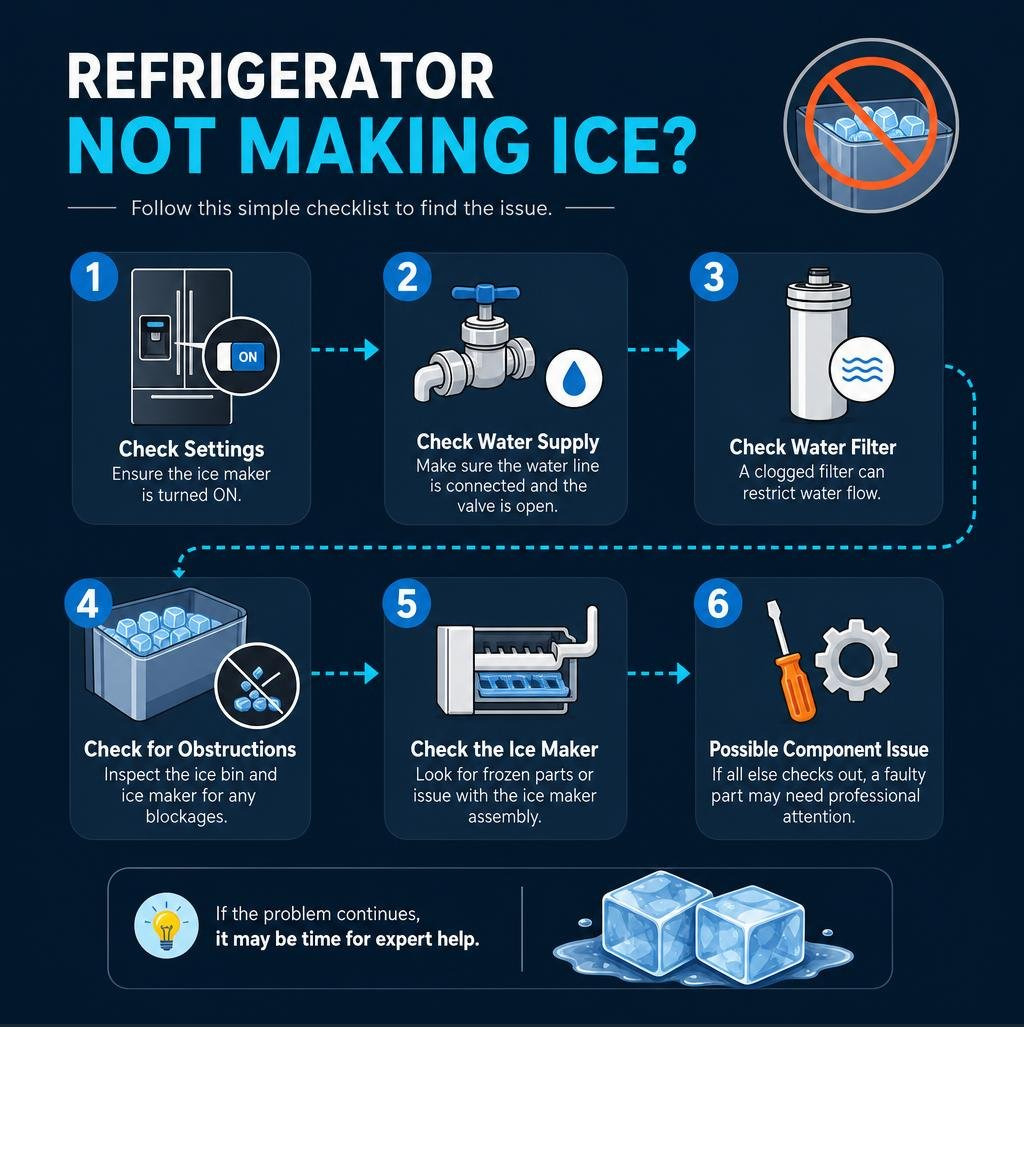
Common Reasons for a Refrigerator Not Making Ice
When you are troubleshooting a refrigerator not making ice, it helps to understand how the appliance decides to make a single cube. The process is a beautifully timed sequence of events: a water inlet valve opens for about 8 seconds to fill the mold, a thermistor or thermostat monitors the temperature until it reaches about 15°F, a small heater briefly warms the bottom of the mold to loosen the ice, and a motor spins an ejector arm or rotates the mold itself to dump the cubes into your bin.
If any part of this chain breaks, ice production stalls. According to manufacturer diagnostics, nearly half of all service calls for an ice maker that has stopped working can actually be resolved with simple, non-technical adjustments.
Diagnosing a Refrigerator Not Making Ice
Before you pull out any tools, start with a quick 60-second visual inspection. It is surprisingly common for an ice maker to simply be paused or turned off without anyone realizing it.
- The Physical Switch: Many traditional ice makers have a physical toggle switch on the unit itself. Ensure it is flipped to the “ON” or “I” position.
- The Feeler Arm: Older models use a metal wire shut-off arm (or feeler arm) that drops down into the ice bin. As ice piles up, it pushes this arm up to pause production. Sometimes, a rogue bag of frozen peas or a shifted ice bin can trap this arm in the “UP” (paused) position. Reach in and make sure it swings freely.
- Control Panel Settings: Modern French door and side-by-side refrigerators often control the ice maker digitally. Look at your display panel. Ensure “Ice Off” is not illuminated. If your kids like to press buttons, the display lock might be engaged; press and hold the lock button for three seconds to release it.
Troubleshooting a Refrigerator Not Making Ice but Water Works
One of the most confusing scenarios is when your refrigerator refuses to drop ice, yet you can walk right up to the door and fill a glass with cold water. Many homeowners assume this means the water supply is perfectly fine, but that is not necessarily true.
A refrigerator handles water via a dual (or secondary) solenoid water inlet valve. One solenoid controls the high-volume water flow to your door dispenser, while a separate, smaller solenoid controls the low-volume flow to the ice maker. If the ice maker solenoid fails, or if the tiny water line feeding the ice mold freezes shut, you will have plenty of drinking water but zero ice.
For more details on how these valves operate, you can check out the Whirlpool Ice Maker Troubleshooting Guide.
The 6 Essential DIY Checks to Restore Ice Production
If your control panel is set correctly and your feeler arm is down, but your bin remains bone dry, it is time to dig a little deeper. We have laid out the six most common failure points below.
If you walk through these steps and still find yourself stuck, our local team of certified technicians is always ready to assist with professional Refrigerator Repair across Raleigh, Cary, Durham, and the surrounding Triangle area.
1. Verify Freezer Temperature and Airflow
If your freezer is too warm, your ice maker will go on strike. This is because the mold thermostat (or thermistor) must reach a threshold of 16°F (-9°C) or lower before it will initiate a harvest cycle. If the freezer is hovering at 20°F, your food will still feel frozen solid, but the ice maker will refuse to cycle.
- The Ideal Setting: Your freezer should always be set to 0°F (-18°C).
- Verify with a Thermometer: Refrigerator control panels show what you want the temperature to be, not necessarily what it actually is inside. Place a reliable appliance thermometer between some frozen items for a few hours to get an accurate reading.
- Check the Airflow: Your freezer needs consistent, cold airflow to stabilize temperatures. If you have piled boxes of frozen pizza directly in front of the evaporator vents, cold air cannot circulate around the ice maker. Keep your freezer about 3/4 full for maximum temperature stability, but leave a few inches of breathing room around the vents.
- Clean the Condenser Coils: If your refrigerator’s condenser coils (located at the bottom or back of the unit) are caked in dust and pet hair, the compressor will struggle to shed heat. Clean them at least once a year to prevent your freezer temperature from creeping upward.
2. Inspect and Replace the Water Filter
A clogged water filter is one of the single most common culprits behind hollow, tiny ice cubes or a complete halt in production.
Over time, your water filter collects sediment, minerals, and chlorine. As it fills up, water pressure drops. Because the ice maker’s fill cycle is controlled by a simple timer (usually opening the valve for just 8 seconds), low water pressure means only a trickle of water enters the mold before the valve shuts. This results in tiny, hollow cubes that freeze together or a mold that never fills at all.
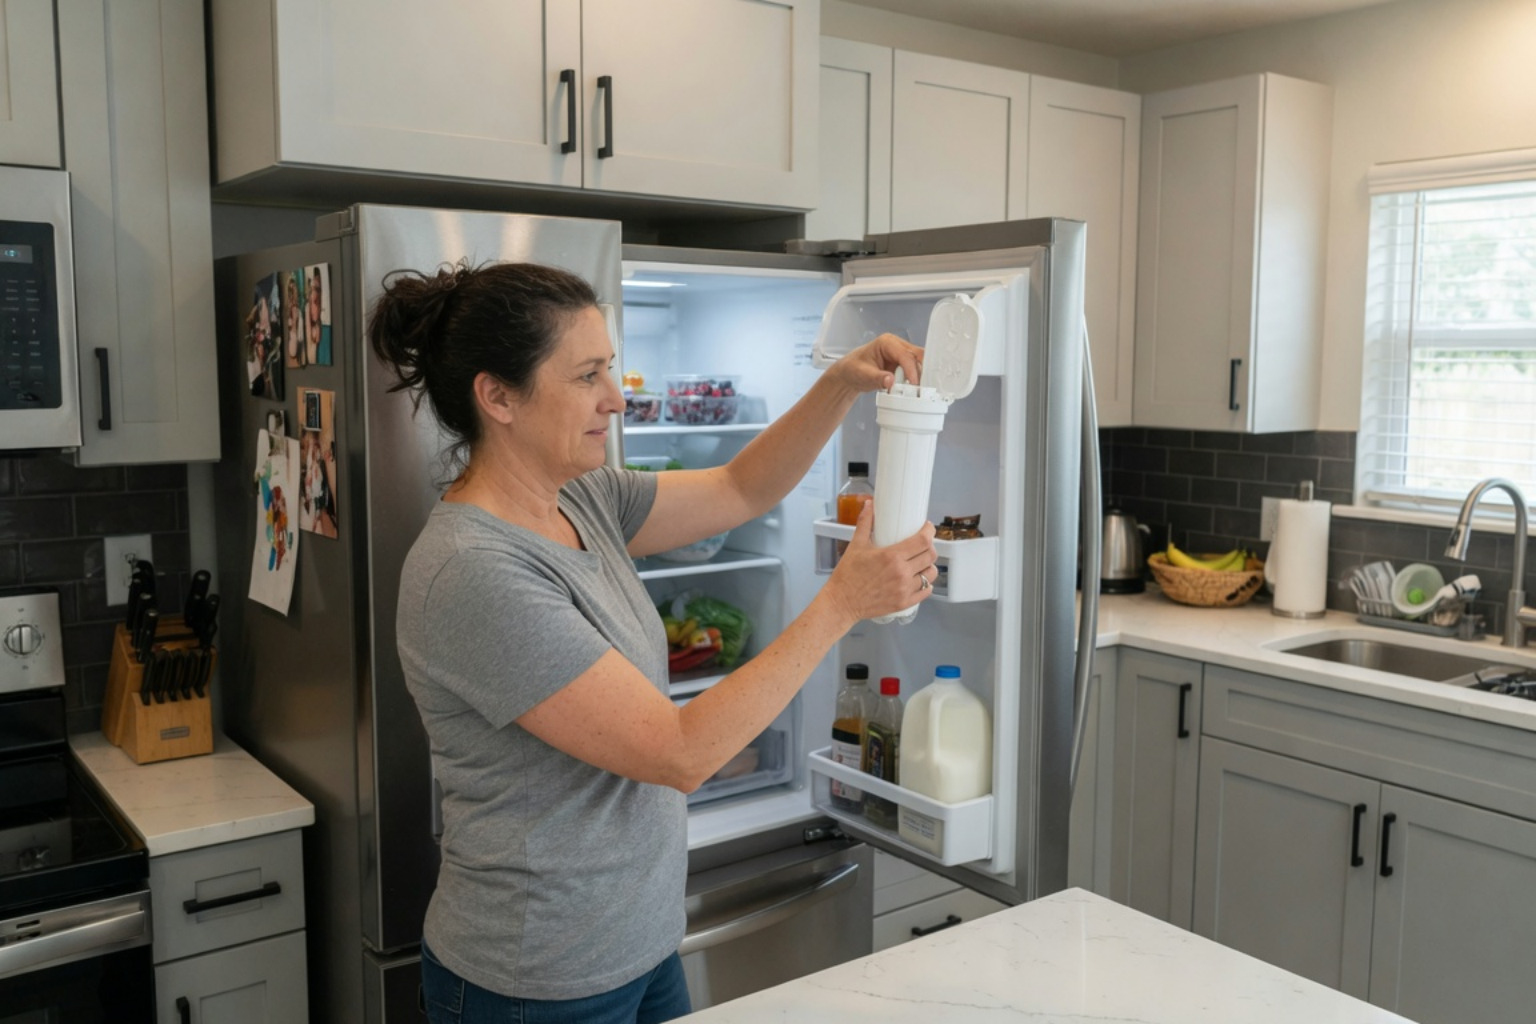
- The 6-Month Rule: Manufacturers recommend replacing your water filter every 6 months. If you live in an area with hard water, like Cary or Wake Forest, mineral scale can clog a filter in as little as 4 months.
- Bypass Test: If you suspect your filter is clogged, remove it and insert the bypass plug (which came with your fridge). If your ice production suddenly returns to normal, you know the filter was the bottleneck.
- Purge Trapped Air: Whenever you install a new filter, air gets trapped in the lines. This pocket of air can disrupt the water inlet valve. Always run your door water dispenser for 2 to 3 minutes (or dispense about 2 gallons of water) after a filter change to flush out the system.
3. Check the Water Supply Line and Inlet Valve
The water inlet valve is the gatekeeper of your ice maker. It requires a minimum household water pressure of 20 psi to function properly (and some brands, like Samsung, prefer closer to 30 psi). If the pressure is too low, the valve will not open fully, or it will fail to close completely, leading to a flooded ice room.
- Check for Kinks: Gently pull your refrigerator away from the wall. Inspect the plastic or braided stainless steel water line running from your wall shut-off valve to the back of the fridge. If the fridge was pushed back too forcefully, this line can easily kink, cutting off water flow. Keep a 2- to 3-inch gap between the fridge and the wall.
- Test the Inlet Valve: If the lines are clear, the valve itself may have suffered an electrical or mechanical failure. A technician can use a multimeter to test the valve solenoids for electrical continuity. If the valve clicks when the ice maker calls for water but no water passes through, the internal mechanism is likely seized or clogged with mineral sediment.
4. Clear a Frozen Water Fill Tube
If you hear your water inlet valve click, but no water enters the ice mold, you likely have a frozen fill tube. The fill tube is the small spout that juts out over your ice tray.
This happens when a tiny drip of water escapes the inlet valve and freezes inside the cold spout. Over several days, these drips layer over each other until they form a solid plug of ice.
- The Hair Dryer Fix: Shut off the water supply and unplug your refrigerator. Locate the frozen tube above the ice maker. Use a hair dryer on its lowest heat setting to gently warm the tube until the ice plug melts and slips out. Never use a knife, screwdriver, or sharp tool to chip at the ice, as you can easily puncture the plastic tube or the evaporator coil, ruining your refrigerator.
- Why Did It Freeze? If your fill tube freezes again within a few weeks, your water inlet valve is likely seeping water because it can’t close tightly. Replacing the water inlet valve is the permanent solution here.
5. Examine the Ice Maker Assembly and Sensors
Modern ice makers are packed with electronics designed to prevent ice overflows. If these sensors fail or get dirty, the system shuts down.
- Clean the Optical Sensors: Many French-door refrigerators use infrared light beams to detect when the ice bucket is full. If these lenses get covered in frost or dust, they will mistakenly believe the bin is full. Locate the small sensor windows on the left and right walls of your ice compartment and wipe them clean with a dry microfiber cloth.
- Check the Ejector Arm: If your ice maker has a metal or plastic rake that pushes the cubes out, check to see if a half-melted cube has jammed the mechanism. If the ejector arm is stuck mid-rotation, the motor will stall.
- Mold Thermostat Failures: Traditional ice makers use a small bimetal thermostat clamped to the bottom of the mold. If this thermostat fails, it won’t detect when the water has frozen, and the ice maker will sit idle indefinitely.
6. Inspect the Auger Motor and Dispenser Flap
Sometimes the ice maker is actually doing its job, but the delivery system is broken. If you can hear a motor straining when you press the dispenser paddle, but no ice drops, you are dealing with an auger or flap issue.
- Ice Clumping: If you do not use ice frequently, the cubes in your bin will slowly melt and refreeze into a single, solid block. When the metal auger tries to spin, it jams against this ice block. Pull the bin out, discard the clumped ice, wash and dry the bin thoroughly, and slide it back in.
- The Dispenser Flap Seal: On door dispensers, a small plastic flap (or chute door) opens to let ice out and snaps shut to keep warm air out. If this flap gets stuck open by a stray piece of ice, warm, humid air will constantly rise into the ice compartment. This leads to massive frost buildup, frozen fill tubes, and jammed gears. Clean the rubber gasket around the flap and ensure it seals flush against the housing.
Brand-Specific Ice Maker Issues and Reset Procedures
Every appliance brand designs its ice maker a little differently. What works to fix a Frigidaire might not apply to an LG or a Samsung. If you’re dealing with persistent issues, we provide fast, brand-specific diagnostics through our Fridge Repair in Raleigh, NC: Fast, Honest Service.
Resetting and Testing Your Ice Maker Safely
Before replacing any parts, running a diagnostic reset can clear temporary software glitches and force the mechanical components to run a test cycle.
- Samsung Ice Makers: Pull out the ice bucket. Look for a small, rectangular rubber button on the front or side of the ice maker assembly. Press and hold this “Test” button for 3 to 10 seconds. You should hear a chime, and the ejector arm will slowly begin to rotate. This test cycle takes about 6 minutes. Avoid pressing this button repeatedly, as it can overflow the mold with water.
- LG Ice Makers: LG units often feature a small power switch on the left side of the assembly, or a tiny pinhole on the bottom. To reset, turn the power switch off, wait 30 seconds, and turn it back on. Alternatively, push a paperclip into the test pinhole for 3 seconds to force a manual cycle. For more details on these models, refer to the LG Refrigerator Support Guide.
- Frigidaire Ice Makers: Many Frigidaire models can be reset simply by holding the “Power” button on the control panel or flipping the green rocker switch under the ice maker mold. You can find official troubleshooting tips directly at the Frigidaire Support Portal.
Common Brand Failure Profiles
- Samsung French Door Models: Pre-2018 French door models are notorious for a design pattern where humid air leaks into the ice room, causing a thick crust of frost to freeze the entire assembly solid. While a manual defrost with a hair dryer works temporarily, the frost will usually return in 2 to 12 weeks. The permanent fix involves sealing the cabinet gaps and installing a redesigned ice maker kit with updated firmware.
- Whirlpool & KitchenAid French Door Models: These models often experience broken wires inside the lower freezer door hinge. Because the wires bend every single time you open and close the freezer drawer, they eventually suffer from metal fatigue and snap. If your ice maker suddenly stops getting power entirely, a technician will check this wiring harness for broken connections.
Frequently Asked Questions About Refrigerator Ice Makers
Why is my refrigerator not making ice but the water dispenser still works?
This is almost always caused by a failure localized to the ice maker system itself. The most common causes are a frozen water fill tube, a clogged water filter restricting pressure to the secondary ice solenoid, or a failed ice maker mold thermostat. Because the water dispenser uses a separate, higher-volume solenoid valve, it can continue to work even when the ice maker’s water line is completely blocked. You can read more about this on the Samsung Ice Maker Troubleshooting Page.
How long does it take for an ice maker to produce ice after a reset?
After resetting your ice maker or plugging in a new refrigerator, you must allow up to 24 hours for the freezer temperature to fully stabilize and for ice production to resume. The first harvest cycle usually occurs within 90 minutes to 3 hours, but it takes a full day to fill a standard 4-pound ice bin.
What temperature should my freezer be set to for optimal ice production?
Your freezer should be set to 0°F (-18°C). Although water freezes at 32°F, refrigerator ice makers require a much colder environment to trigger their internal thermostats. If your freezer is set above 10°F, the ice maker will stop cycling entirely to prevent dispensing semi-frozen slush into your bin.
Conclusion
A warm, humid summer day in North Carolina is the absolute worst time to find your refrigerator not making ice. While simple issues like a bumped switch, a jammed feeler arm, or a clogged water filter are easy to tackle on your own, complex electrical issues — like a failed water inlet valve, a broken door wiring harness, or a faulty control board — require a professional touch.
At iFix Appliances, we are proud to be a family-owned local business serving homeowners throughout Raleigh, Cary, Durham, Chapel Hill, Wake Forest, Apex, Morrisville, and the surrounding Triangle area. Our factory-certified technicians carry a wide range of OEM replacement parts directly on our trucks, allowing us to offer same-day diagnostics and reliable repairs for all major refrigerator brands.
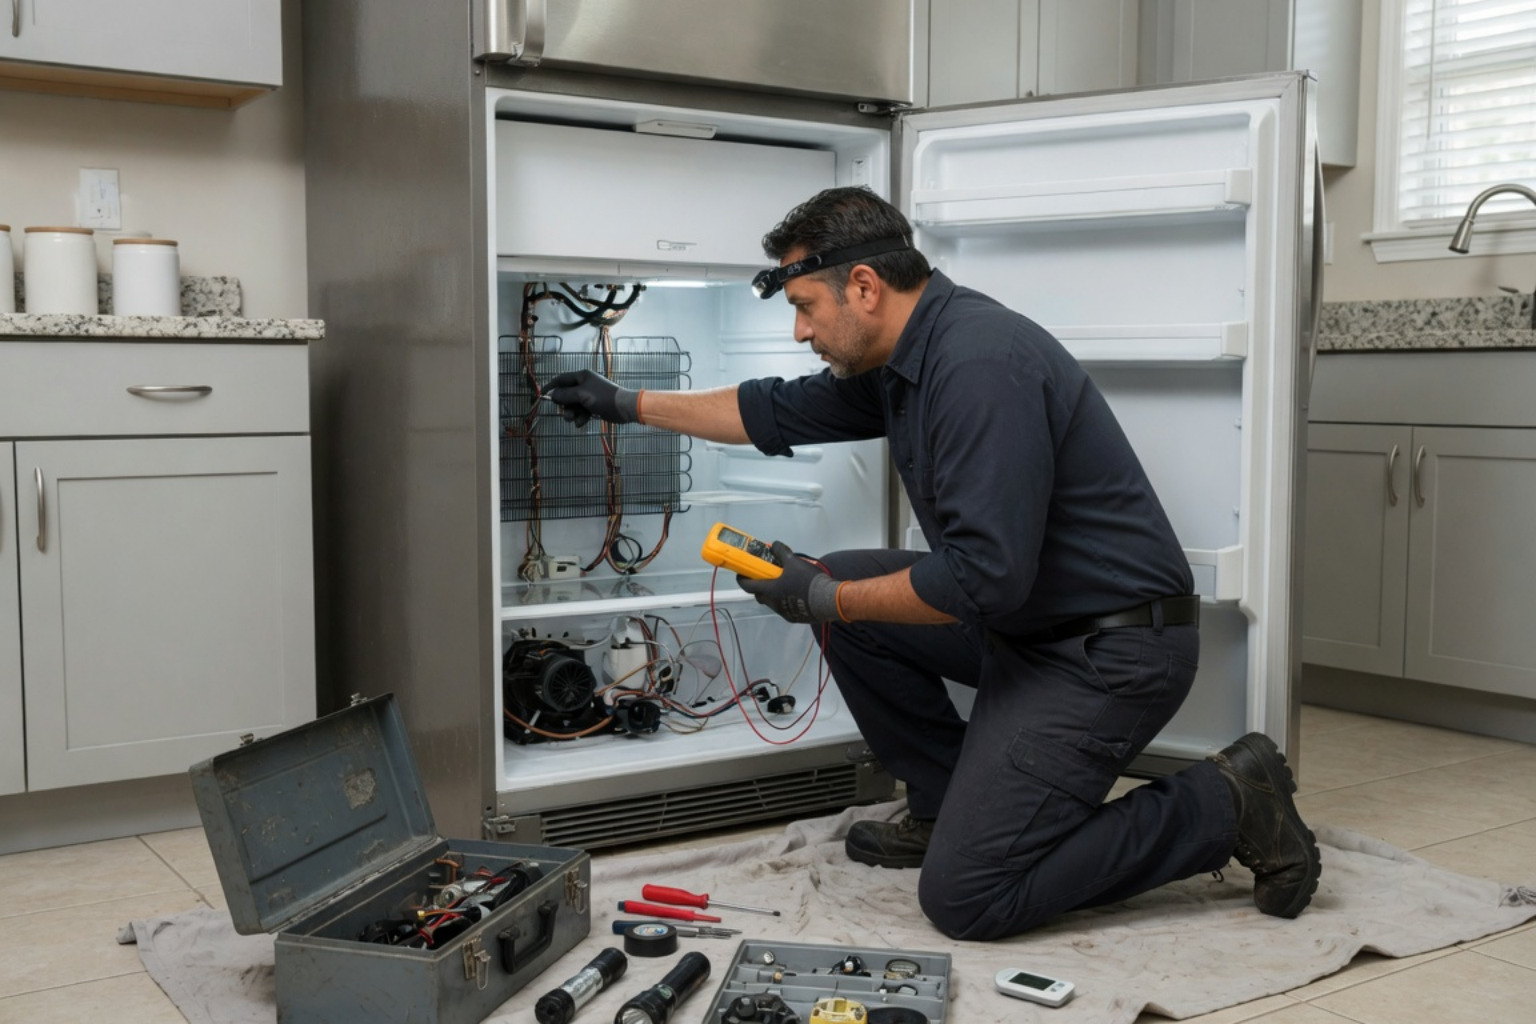
Don’t settle for lukewarm drinks or bags of store-bought ice. If your DIY troubleshooting has run its course, visit our Ice Maker Repair Service Page to schedule an appointment with our friendly team. We’ll have your ice bin full and your kitchen running smoothly again in no time!


0 Comments